Create a Scene
Set up multi-screen in-app experiences, with no development required. AXP
These steps walk you through creating a new Scene using the Scene composer. You can also create a draft Scene from the Journey MapA visualization of messaging components that can be connected to create a continuous user experience. You can also create and edit from the map. then edit and complete the steps described here. See Creating Journey components in the Journeys documentation.
Getting started
Select the add icon () in the dashboard header, then select Scene. Each step is labeled in the center of the header:

After completing a step, select the right arrow icon () to move on.
If you want to flag the Scene as a test, select the gear icon () and enable Mark this message as a test. You can do so in any step.
Settings

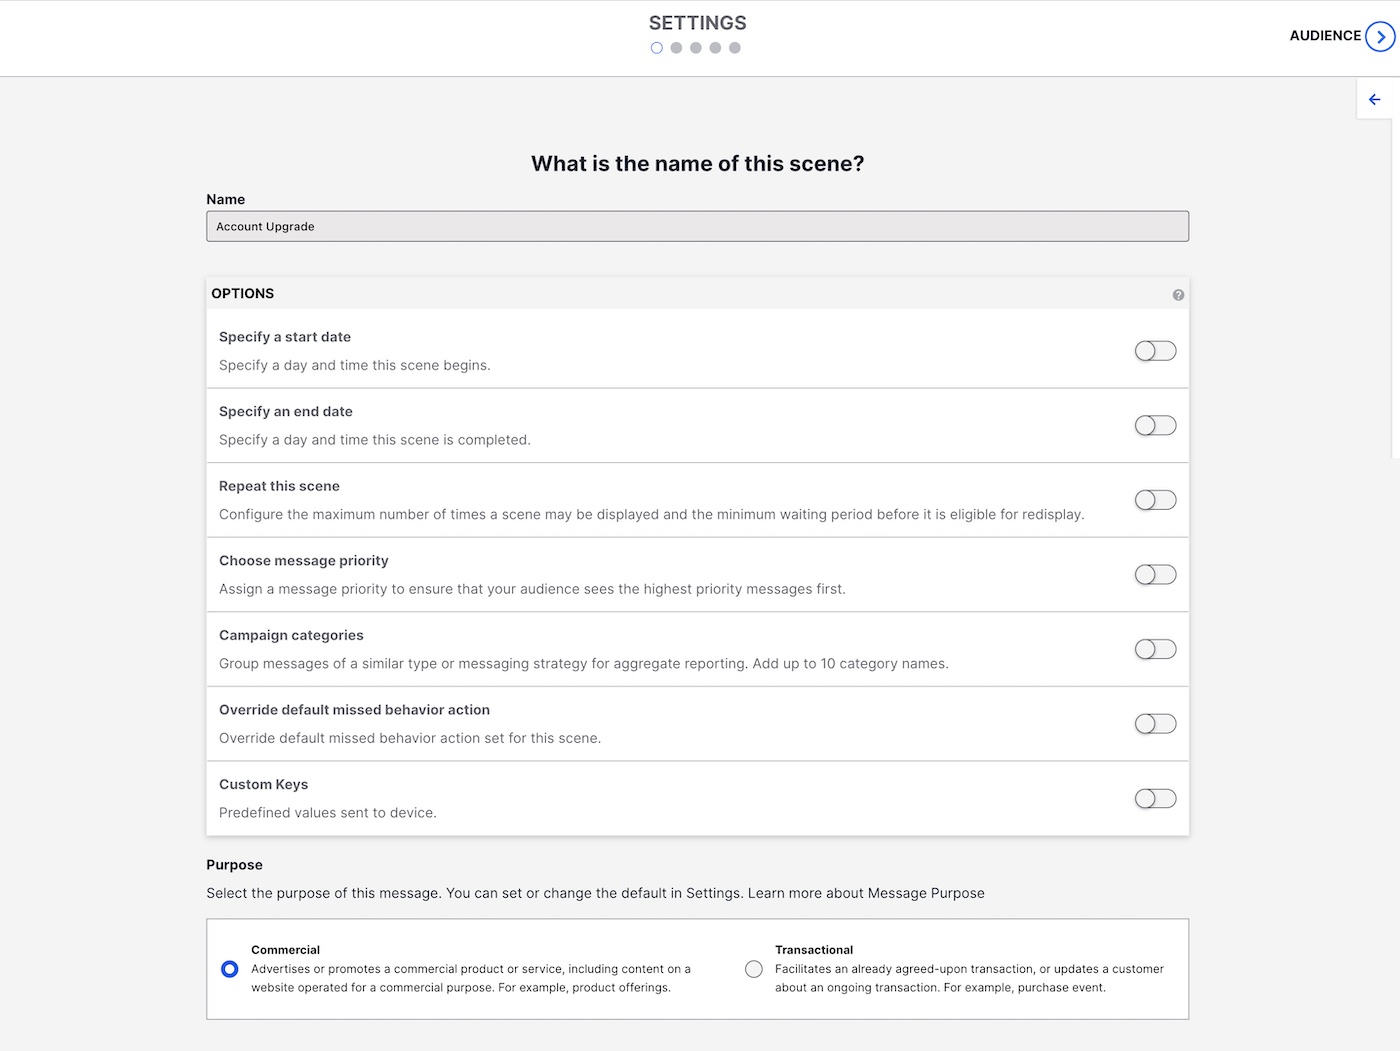
Enter a name that represents the purpose of the Scene, e.g., “Account Upgrade.” The name appears in reporting and Messages OverviewA view of all your project’s messages, with options for editing their settings, content, status, and more..
Set optional features.
(If present) Set or verify the Message PurposeA dashboard setting that designates a message as commercial or transactional.. The Purpose setting only appears if enabled for the project.
Audience
Determine who can see your Scene:
(If Web Scenes are enabled for the project) Select from channels: App and/or Web.
Select and configure a user group:
Feature FlagsAn experimentation tool for controlling the availability of content or functionality in your app or website. A flag’s Configurations determine the audience, schedule, and property values to apply when the flag is enabled. Flag properties enable making immediate code updates, bypassing the need for traditional code changes and release processes., you can set up a Scene RolloutA method of limiting a Scene’s total or targeted audience by setting an adjustable percentage.. After selecting All users or Target specific users, enable Audience Allocation, and then set a percentage. You can change the percentage at any time. For Target Specific Users, the percentage applies to users who meet the set conditions.
Content

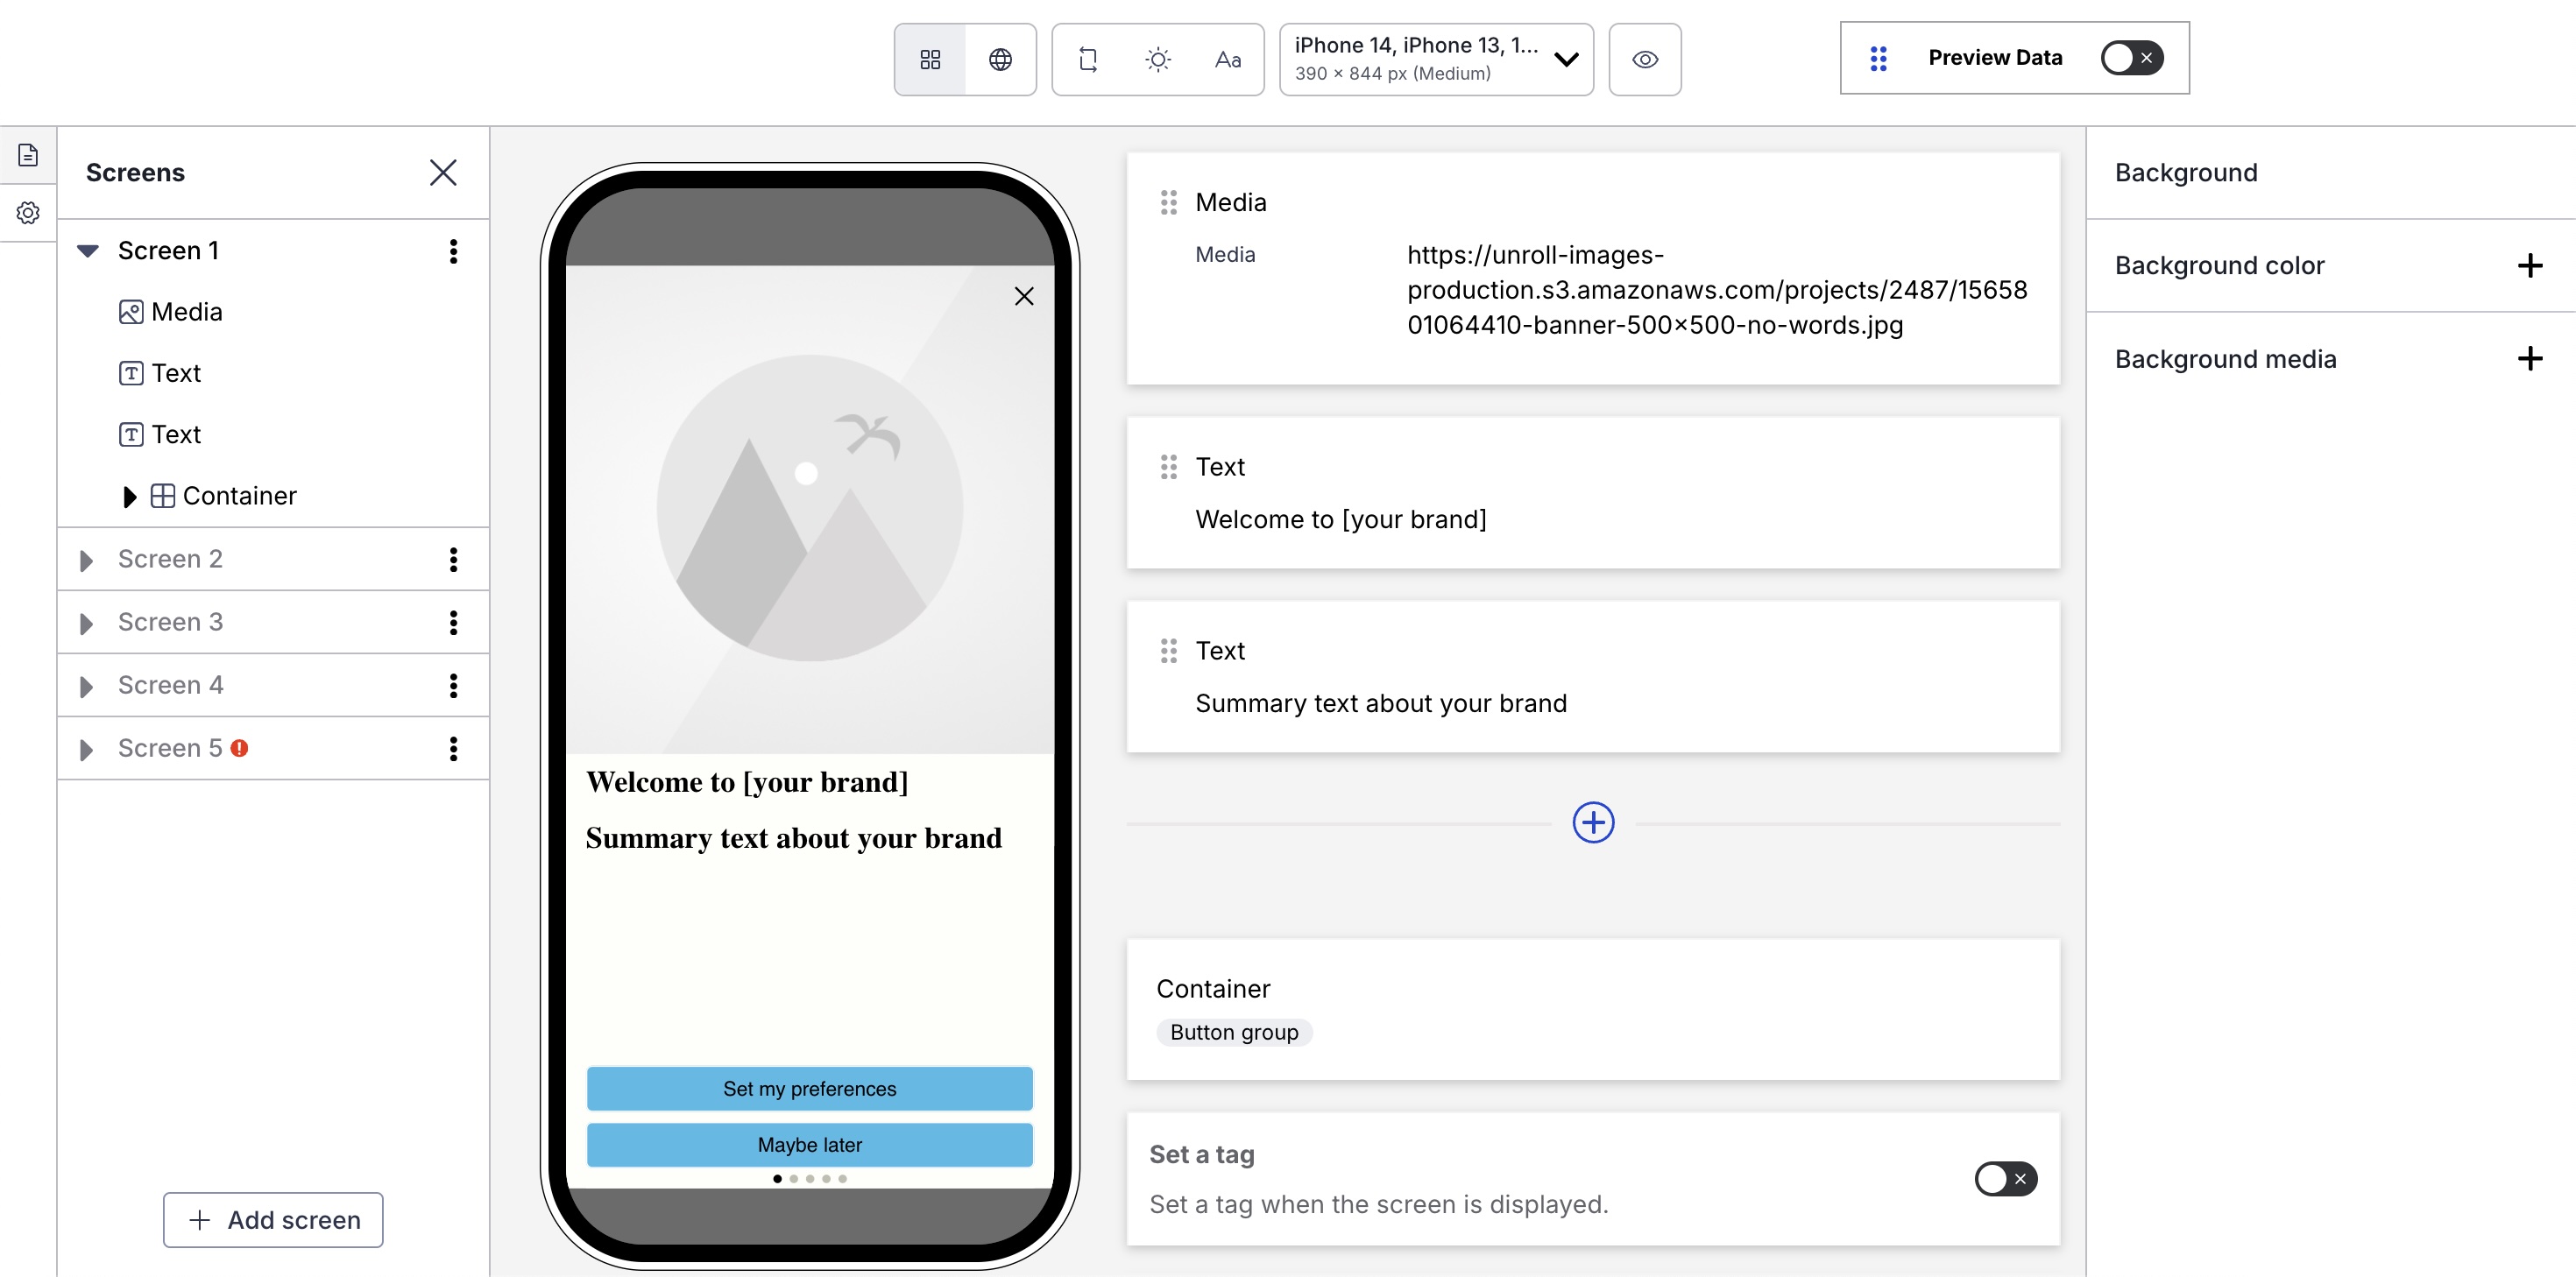
Select Start from Scratch or a content layout. Toggle Default and Custom to see available content layouts. For Custom, you can search by layout name or description. After selecting a layout, it appears in the device preview. Select the arrows to page through each screen.
See Content layouts in About Scenes and the Creating custom content layouts configuration guide.
Select Continue with selection. You can change your selection up until selecting Done when editing screens.
Configure settings for the entire Scene and the content of each screen. Follow the steps in Configure Scene content.
Behavior

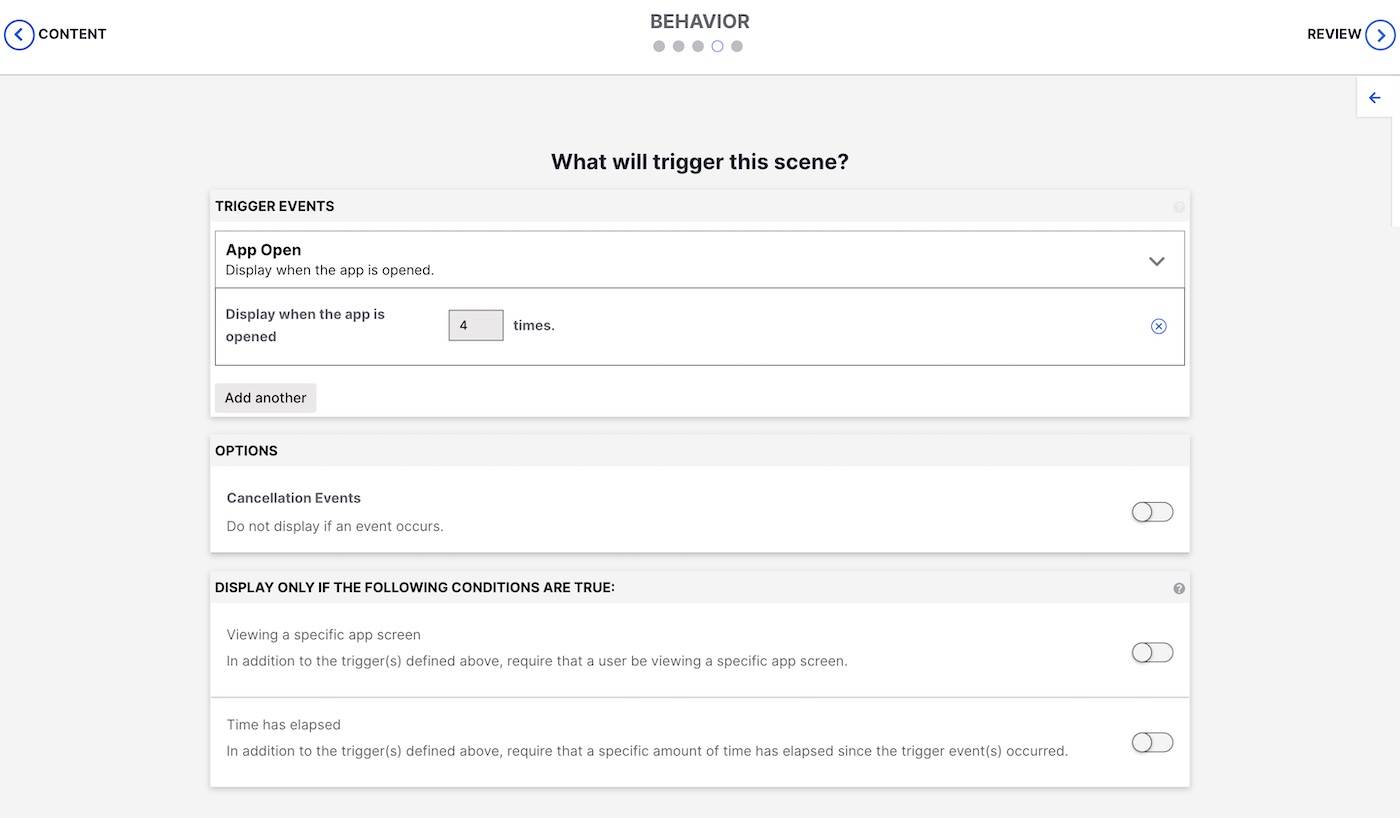
Configure the event that will cause the Scene to appear to users. You can also configure cancellation events and conditions for displaying the Scene.
Follow the steps in In-app experience triggers.
Review
Review your Scene appearance and summary.
- For Scenes with more than one screen, select the arrows at the side of the screen to page through each screen’s preview and content summary. Toggle the Light/Dark selector above the preview to see the appearance of elements with an assigned Color SetA named pair of hexadecimal color values supporting device Light and Dark modes. Color sets can be selected for any color field in a scene and when configuring the default appearance of Scenes and In-App Automations. Dark mode is supported for Scenes only.. Light Mode values appear in Dark Mode preview if no Dark Mode value was entered for a color set.
- If you selected Feature Flag Audience in the Audience step, compare the flag and Scene start and end dates in the Schedule section to make sure your intended timing is set up correctly.
- If you want to make changes, select Edit, make your changes, then either select the right arrow icon () or select the central navigation dot to return to the Review step.
Select Finish to make the Scene active. If you exit before selecting Finish, the Scene is saved as a draft.
Categories
