Content templates
Use content templates to personalize messages with information specific to each member of your audience, like first name, flight number, or order status. You can even pass complicated variables to your template.
About content templates
You can create content templates for all messaging channels:
- App — For Push NotificationA message that can appear on any screen on a mobile device. Push notifications appear as banners., Message CenterA place in your app where you can display persistent rich messages, including HTML, video, etc. Similar to email, Message Center represents both the medium (the in-app inbox) and the message type (the messages you send to the inbox)., and In-App AutomationMessages that are cached on users’ devices and displayed when your users meet certain conditions within your app, such as viewing a particular screen or opening the app a certain number of times., follow the steps on this page. Templates for In-App Automation can be used for modal and fullscreen styles only.
- Web
- SMS/MMS
- Open channel
After creating content templates in the dashboard, you can select them in the Content step in a composer or by using the template property with the API. In-App Automation is not supported for API use.
In the composers, for App, Web, SMS/MMS, and Open channels, the template content replaces your message content as is and cannot be edited. For Message Center, In-App Automation, and Email, you can edit your message content after selecting the template.
You can assign keywords to your templates so they are easily found in search.
- Name your templates according to the sources they use for personalization, so it’s clear when and where you can reuse your template.
- For reusable message designs for ScenesMulti-screen experiences that are cached on users’ devices and displayed when your users meet certain conditions within your app, such as viewing a particular screen or opening the app a certain number of times. Scenes can include survey questions or be presented as a story., see Creating custom content layouts in Configure Scene content.
Content template format
A content template has a name, optional description, and fields that make up the viewable content in a message.
| Template | Fields |
|---|---|
| App (Push notification) |
|
| Message Center |
|
| In-App Automation |
|
| Web |
|
| SMS |
|
| MMS |
|
| |
| Open channel |
|
Using the Interactive editor
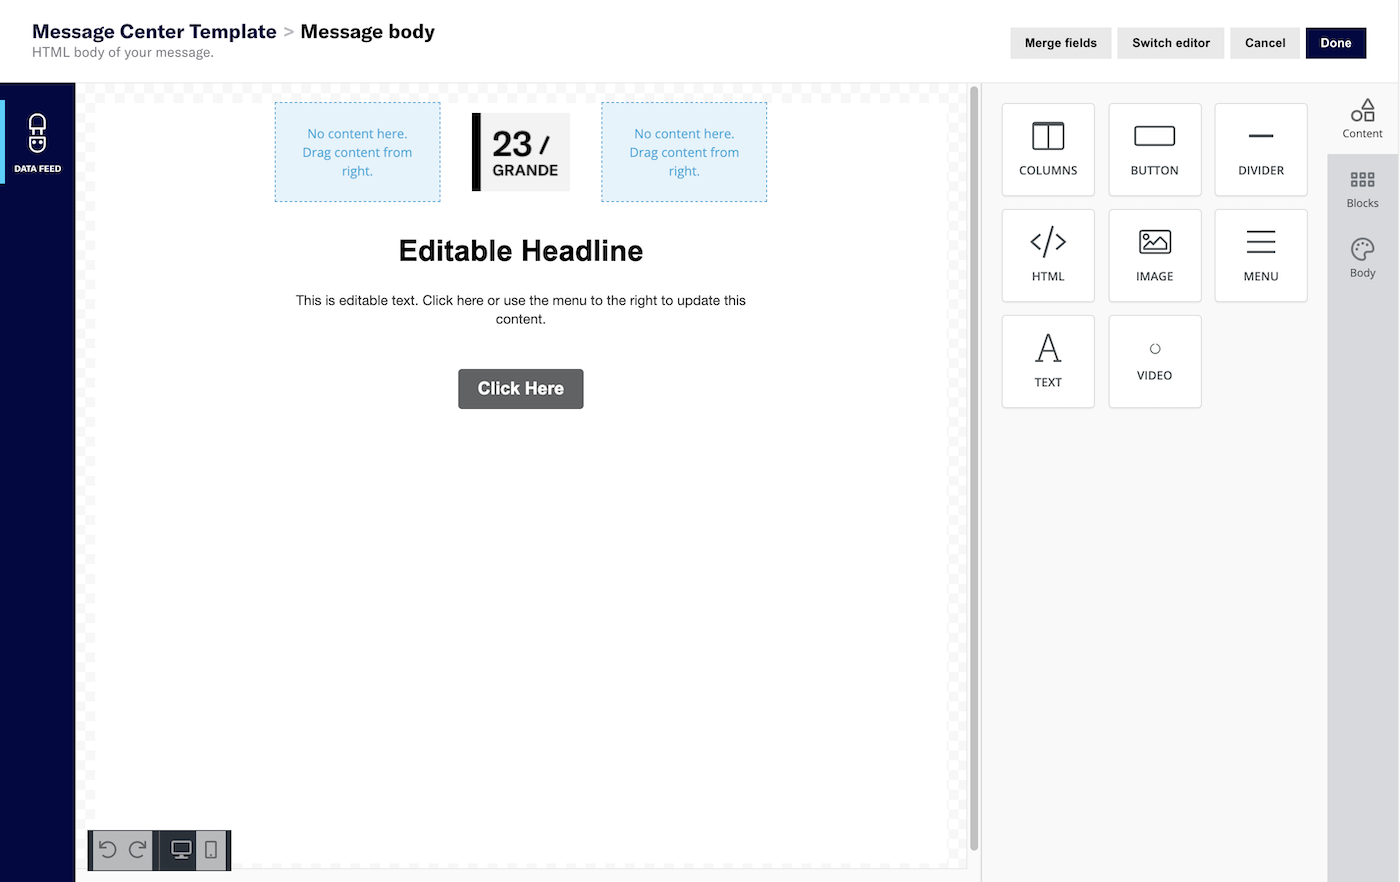
When adding the email HTML body, or In-App Automation or Message Center Message body, you can use the Interactive EditorA tool for creating content for landing pages, Message Center, email, and in-app automation. You can provide your own HTML or design using the drag-and-drop WYSIWYG option. to:
- Paste or upload your own HTML.
- Design using the WYSIWYG option. You can start from a blank layout or select an Airship default layout or a layout you saved. The WYSIWYG editor supports Merge FieldsA variable in your message or template that you want to populate with a personalized value for each member of the audience. Merge fields use Handlebars syntax —
{{merge_field}}., so you can personalize your message for your audience.

Personalizing content templates
You can use our built-in tool to insert merge fields and logic statements for the AttributesMetadata used for audience segmentation and personalization. They extend the concept of Tags by adding comparison operators and values to determine whether or not to target a user, helping you better evaluate your audience. in your project. See: Simplifying Handlebars expressions. You can also manually enter HandlebarsHandlebars is Airship’s templating language for personalization. Handlebars expressions use double curly braces wrapped around a content template, ranging from a simple variable, e.g., {{first_name}}, to complex evaluations of personalization data.. Both methods are available for all text fields in a template, including when you paste or upload HTML using the Interactive editor.
When using Handlebars to reference variables, you should define default values for your fields with {{ $def field_name "default value" }}. The template preview renders variables without default values as blank spaces, mimicking the behavior your audience will experience if they receive messages with unpopulated variables.
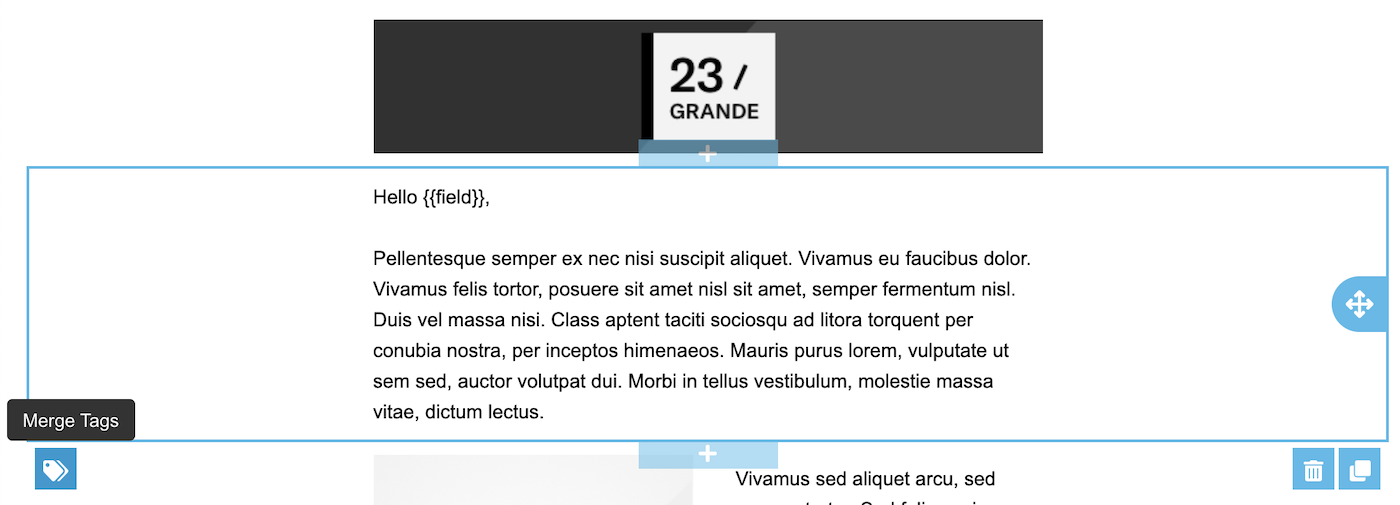
When personalizing messages in the WYSIWYG editor, you must define merge fields before you can use them to personalize blocks of content unless you write your own custom HTML blocks. (You can personalize custom HTML blocks using HandlebarsHandlebars is Airship’s templating language for personalization. Handlebars expressions use double curly braces wrapped around a content template, ranging from a simple variable, e.g., {{first_name}}, to complex evaluations of personalization data. like you would any other message.) See: Merge fields in the WYSIWYG editor.

You can also take advantage of looping (#each), conditional if/else statements, and other advanced HandlebarsHandlebars is Airship’s templating language for personalization. Handlebars expressions use double curly braces wrapped around a content template, ranging from a simple variable, e.g., {{first_name}}, to complex evaluations of personalization data. inside custom HTML blocks. However, you cannot apply conditional or looping logic to block-level elements in your template without defining merge fields in the WYSIWYG editor first.
Creating a content template
Go to Content and select Templates, or select the plus sign icon (), select Template, and then select Create template.
Enter a Name and a brief Description to help you identify the template in lists (e.g., “Holiday 2020”), and select the channel:
- App — For Push NotificationA message that can appear on any screen on a mobile device. Push notifications appear as banners. content only
- Message Center
- In-App Automation — For use with modal and fullscreen styles only
- Web
- SMS/MMS
- Open channel
(Optional) Add keywords help organize your templates. Enter a term in the search field and select from results, or click Add keyword: [term]. Click to remove a keyword. You can add up to 10 keywords.
Click Save and continue.
Enter your content. The preview updates as you type. Open channel templates do not have a preview.
Click Add and add content for each field, then click Done.
For email HTML body, and Message Center and In-App Automation Message body, provide your HTML or design using the WYSIWYG editor.
- For HTML, select the paste or upload option and add your HTML.
- For the WYSIWYG editor, first select a default or saved layout, or select Blank Layout to design your own. You can edit any layout after selecting. Then design your message. See: WYSIWYG editor.
For email, in the WYSIWYG editor:
- To reduce the HTML size, select Settings in the sidebar, and then enable Minify HTML.
- After selecting Done, choose whether to save the HTML body only or also generate the plain text body.
(Optional, for email only) Preview your email in different clients:
- Click Inbox preview.
- Select from the lists of browser, desktop, and mobile clients, then click Generate previews.
- Click a thumbnail to see the full version. Click to close and choose another preview.
- (Optional) To add/remove clients, click Reselect and generate previews and start over.
- When you are finished with inbox previews, click to close the modal.
Click Save template when you are done adding content.
Using a content template
You can select a template in a composer’s Content step.
- For In-App Automation, you must select Modal or Fullscreen in the Style step, then you will see the option to use a template in Content.
- For Message Center, In-App Automation, and Email, you can edit the HTML or WYSIWYG design in the Interactive editor after selecting a template.
In the API, you can use a template property to invoke a template, either by ID or to personalize your message with HandlebarsHandlebars is Airship’s templating language for personalization. Handlebars expressions use double curly braces wrapped around a content template, ranging from a simple variable, e.g., {{first_name}}, to complex evaluations of personalization data.. See: Platform Overrides with Templates.
If you want to reference a template by ID, you must get the ID from the dashboard. Go to Content and select Templates, then copy an ID. Not supported for In-App AutomationMessages that are cached on users’ devices and displayed when your users meet certain conditions within your app, such as viewing a particular screen or opening the app a certain number of times..
Managing content templates
Go to Content and select Templates to view the list of templates in your project. You can search by name, channel, keyword, or ID. Templates marked Empty do not have message content; you cannot use Empty templates in messages until you edit and populate them.
Options:
- = Edit — After opening for editing, select edit next to the template name to edit its name, description, and keywords.
- = Duplicate
- = Delete
Categories
