1st Flight App Guide
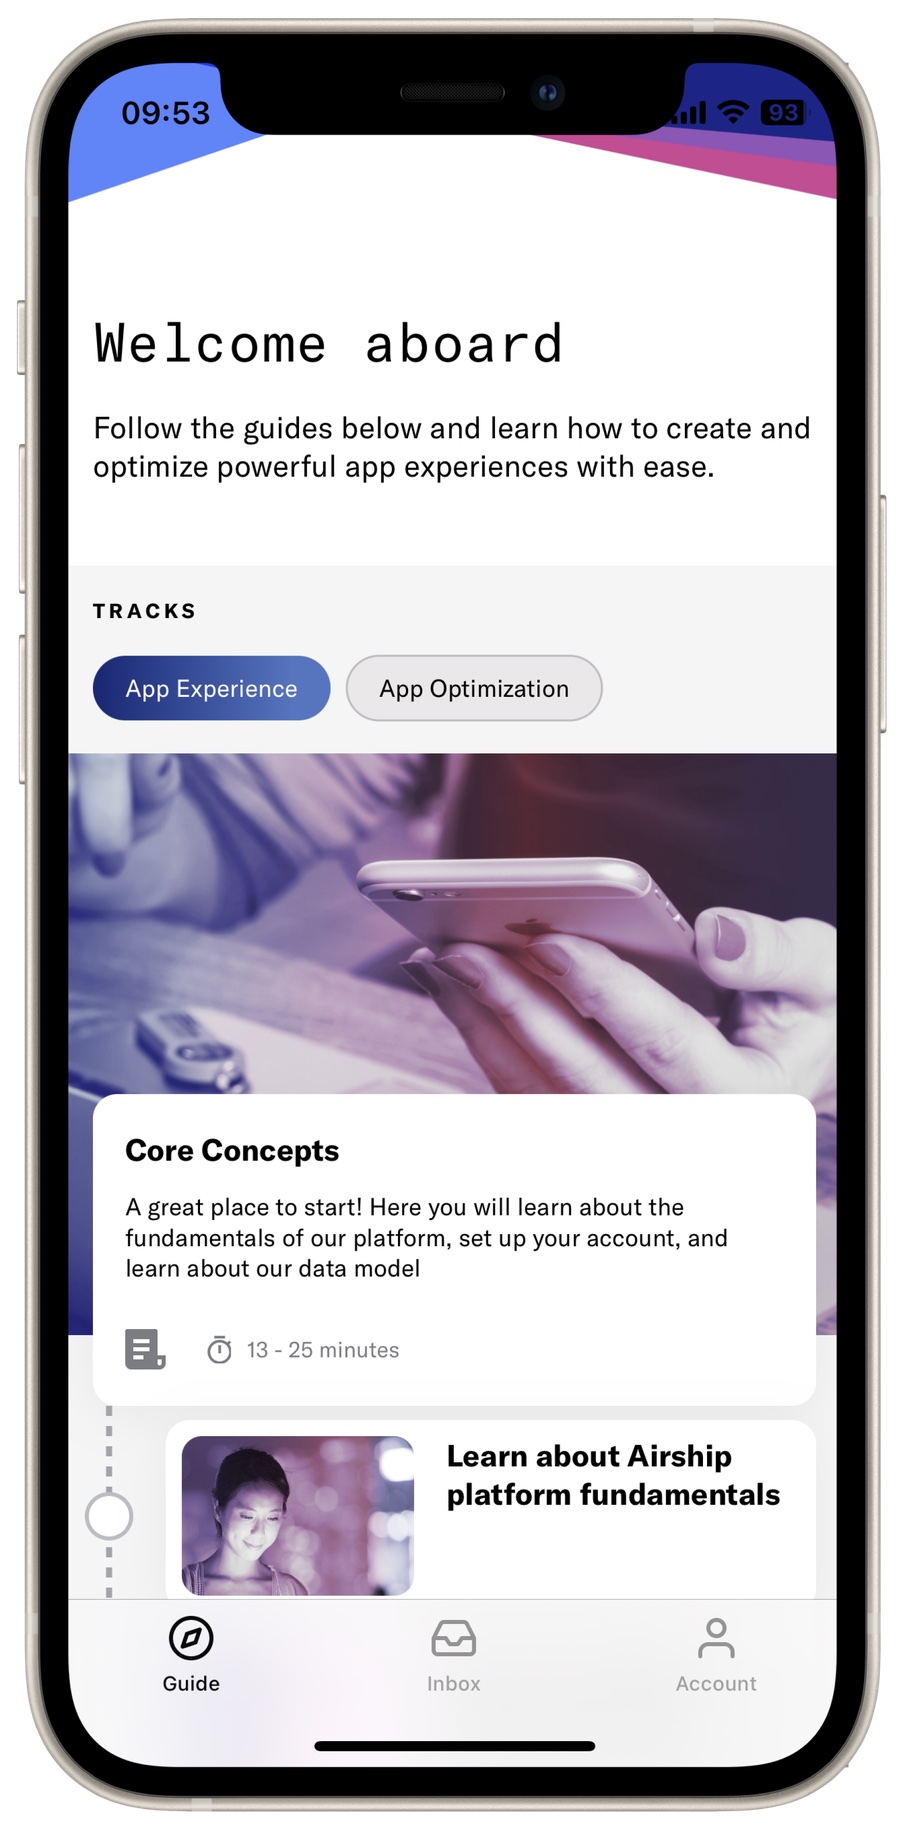
Install our ready-to-use app and send messages without writing a single line of code.

Airship’s 1st Flight app lets you kick the tires (and honk the horn and try the turn signals) immediately. After installation and connecting to your Airship account, you can start sending messages to your own device.
For a guided experience, follow the app’s learning tracks about features, capabilities, and data. You can read an overview of each topic, plus key benefits and use cases. These tracks walk you through completing tasks in the app or in the Airship dashboard, giving you hands-on experience building campaigns and seeing them live on your device.
Sounds good? Let’s get you set up.
Create an account and set up the app
First set up your Airship account, then request a magic link to install the 1st Flight app:
- Create an Airship account on go.airship.com or go.airship.eu . Make sure your Region selection matches the location where you want your data to be hosted.
- Check your inbox for a verification email from Airship and click Activate account to open the account setup page.
- Set up a password.
- Set up phone authentication (SMS) as an MFA method.
On the next screen, enter your email address and click Get magic link. If on a mobile device, scroll to the right to see the field and button.
Perform the next steps on your mobile device:
- Check your email for our message, and tap Install the app. Your device’s app store will open to the Airship app.
- Install and open the app.
- Tap Connect My App.
- Select your region (US or EU) and log in with your Airship username and password. Your Airship account is now associated with the 1st Flight app on your device.
- For iOS mobile devices, tap Enable Push then Allow to allow the device to receive push notifications. Push is automatically enabled for Android, so this screen will not appear for Android mobile devices.
You’re all set. Let’s send a push notification to your mobile device.
Send a push notification
Send a Push NotificationA message that can appear on any screen on a mobile device. Push notifications appear as banners. to your mobile device. We’ll try out a few features along the way too.
Configuring Airship First Flight App and Sending a Push Notification
Open the 1st Flight project from the DashboardThe Airship web interface located at go.airship.com or go.airship.eu. and click Create a message.
Tip After sending your first message this screen will display your Messages OverviewA view of all your project’s messages, with options for editing their settings, content, status, and more., and you will click for new messages.
Select All Users, then click Content in the header.
Select Push Notification, then click Add content.
Enter your message in the text field. You will see your message appear in the device preview.
Select the Web Page action and enter a URL. We recommend http://bit.ly/IqT6zt . When your device receives the message and you tap the notification, its web browser will open the URL entered here.
Enable the Title option and enter a title in the text field. Notice its position in the preview.
Click Delivery in the header and select Send Now.
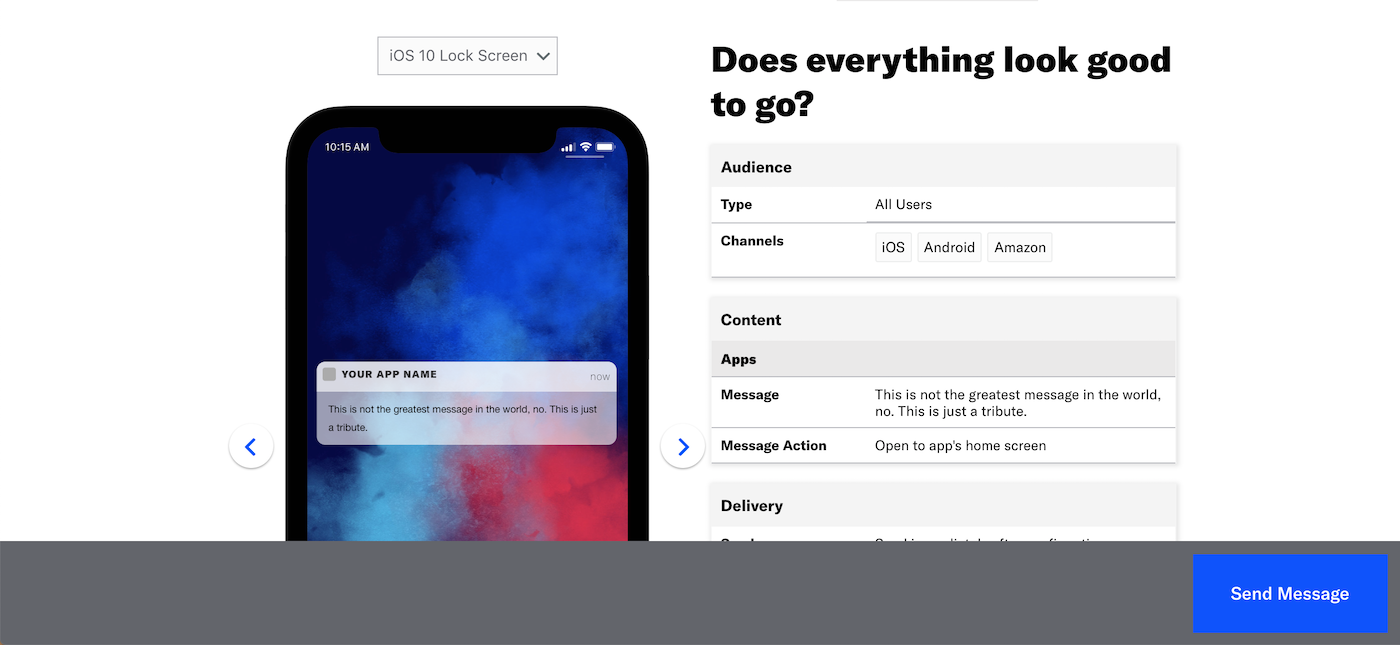
Click Review & Send in the header, and review the appearance and content of your message. You can click through the images in the device preview.

Click Send Message.
Your push notification should appear momentarily. Tap the message and the device’s browser should open the URL you entered when composing your message.
Want to send more messages? Our Message composer tutorials walk you through all the features and options.
Ready to integrate Airship with your own app? Start here: Create a Messaging Project.
Automate a push notification
After you’ve sent your first message, try setting up some automated messages. Airship’s AutomationA set of conditions that your audience must meet before they receive a message. features make it easy to send your audience relevant messages based things they do in your app, changes in their preferences, or changes in their location. Learn more in the Automation feature guide.
Automate a push notification using the Tag Change TriggerA trigger that initiates an automation or sequence when a tag is added or removed from a device.:
- Follow the steps in the Automation Composer Tutorial, using these settings:
- In the Setup step, select the Tag Change trigger, then enter a tag in the search field (e.g.,
heyo) and click Create tag. - In the Content step, select Push Notification as your content type.
- In the Setup step, select the Tag Change trigger, then enter a tag in the search field (e.g.,
- Set the tag on your channel ID so you can trigger the message:
- In the 1st Flight app, go to Settings » Tags.
- Tap New Tag.
- Enter the tag that you used when setting up your automation rule and tap Add. This simulates how you would assign tags to your audience as they use your app, and how you can take advantage of tags to send your audience messages.
Your push notification should appear momentarily.
Try In-App Automation
In-App Automation messages are cached in your app, helping you immediately respond to your audience’s behaviors with contextual messages. Using In-App Automation, you can even reach users who may have opted out of traditional push notifications.
Learn more in the In-App Automation feature guide.
Try In-App Automation using the App Open TriggerA trigger that causes an in-app automation, scene, or survey to appear based on the number of times your audience opens your app.:
- Follow the steps in the In-App Automation Composer Tutorial, using these settings:
- In the Behavior step, select the App Open trigger and leave the value set to 1. This triggers your message the next time your audience opens the app.
- Close and open the 1st Flight app to see your message.
If you don’t see your message, make sure that the message is Active in Message Overview. After it is Active, reopen the app.
Create your first sequence
SequencesA series of messages that is initiated by a trigger. Airship sends messages in the series based on your timing settings, and you can also set conditions that determine its audience and continuation. Sequences can be connected to each other and to other messaging components to create continuous user experiences in a Journey. are a quick and powerful way to encourage your audience to reach a goal with an automated series of messages. You might use a sequence to encourage your audience to buy items that they left in their shopping cart, or count down to an upcoming event that they have tickets for.
You can set goals to end the sequence when your audience achieves a desired result. For example, if you start a sequence when your audience leaves items in their cart, you might end the sequence when your audience completes a purchase. Learn more in the Sequences guide.
To get started without having to create a sequence from scratch, try a Sequence TemplateA prefilled Sequence you can use as a starting point for common messaging scenarios..
Set up a sequence using the Tag Change TriggerA trigger that initiates an automation or sequence when a tag is added or removed from a device.:
- Follow the steps in Create a sequence, using these settings:
- For the Trigger, select the Tag Change trigger, then enter a tag in the search field (e.g.,
heyo) and click Create tag.
- For the Trigger, select the Tag Change trigger, then enter a tag in the search field (e.g.,
- Set the tag on your channel ID so you can trigger the sequence:
- In the 1st Flight app, go to Settings » Tags.
- Tap New Tag.
- Enter the tag that you used when setting up your sequence and tap Add. This simulates how you would assign tags to your audience as they use your app, and how you can take advantage of tags to send your audience messages.
Your audience will receive messages in the sequence according to the schedule and conditions you set. When your audience no longer meets the conditions to continue receiving messages, or achieves a goal of the sequence (set in Outcomes), they stop receiving messages and their sequence ends.
You can test your sequence now instead of waiting for scheduled messages. Send the sequence to yourself as a Named UserA customer-provided identifier used for mapping multiple devices and channels to a specific individual.:
- Associate a named user with your channel ID:
- In the 1st Flight app, go to Settings » Named User.
- Enter an ID (e.g.,
julia), then tap Add.
- Follow the steps to Test a sequence. When you set up the Test Audience, enter the named user you set in the 1st Flight app.
Try the Message Center
Message Center is both a place in your app where you can display persistent rich messages, including HTML, video, etc., and a message type. Similar to email, Message Center represents both the medium (the in-app inbox) and the message type (the messages you send to the inbox).Message Center messages support HTML messages with images and video, helping you keep your audience engaged with creative visuals. You might use the Message Center to send your audience coupons, or notify them of upcoming events, encouraging them to keep returning to your app and services.
See Message Center content to create an HTML message with images and video.
- You can send Message Center messages from the Message, Automation, and Sequence composers.
- You can send a Message Center message by itself, or you can combine it with a push notification and/or in-app message. Interacting with the push notification or in-app message sends your audience to the Message Center.
Try the API
If you’d like to try out the Airship API with your new 1st Flight app, you can use the Airship Public Workspace on Postman.com.
From the Airship public workspace, click on the Airship 1st Flight collection to get started.
In the upper-right hand corner, choose the Airship 1st Flight environment and populate it with your 1st Flight app key, secret, and other variables to use the Airship API.
Categories
