Create a sequence
Create a series of messages that are initiated by a trigger. Messages are delivered according to your timing settings, and you can also set conditions that determine the continuation of the series.
Each message in a sequence counts toward your Sequences and Automation Message LimitLimits that cap the number of messages you can send within a specified time frame, preventing you from over-messaging your users. They are set at the project level..
To get started, click in the dashboard header, select Sequence, then click Start from scratch. Enter a name for your sequence and click Continue.
You will now configure each component from the Journey MapA visualization of messaging components that can be connected to create a continuous user experience. You can also create and edit from the map.. You can configure components in any order.

Trigger

Configure a trigger that will initiate your sequence. For details, see: Sequence triggers.
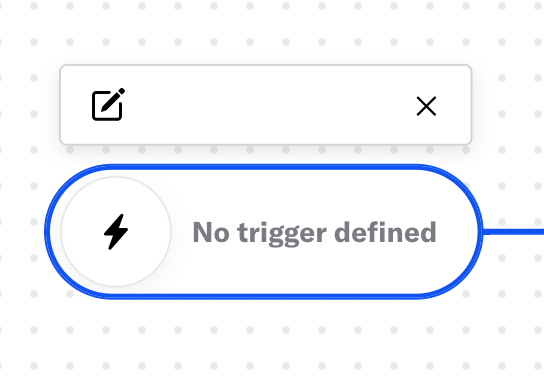
- Click the trigger card.
- Click .
- Select and configure a trigger.
- Click Save.
To add another trigger, click below a configured trigger.
Trigger options
Define when the sequence can deliver messages to your audience, and control the frequency of sending messages and of triggering the sequence.
- Click the sequence card.
- Click .
- Click Settings in the header.
- Select the Trigger tab.
- (Optional) Set the dates and times when the sequence is active and/or ends.
- (Optional) Enable ignoring channel message limits for the sequence.
- (Optional) Set Sequence Rule LimitsLimits that cap the number of messages a user can receive from a sequence within a time frame, preventing you from over-messaging your audience, e.g., a maximum of 1 per day. Rule limits are set per sequence..
- Click Next, then Save & Continue.
You will return to the Sequence ManagerA preview of the messages in a sequence, with options for editing and testing, and for running experiments.. You can start adding messages, or click Exit » Save and exit to return to the map.
Channels
If your account includes Channel CoordinationA group of strategies you can use to target users where they are most likely to receive your message., skip this step — the section does not appear for you in the dashboard. You will instead configure channels when you add each message to the sequence.
Enable the channels you want to send the message to. Available channels are based on your selected trigger.
- Click the sequence card.
- Click .
- Click Settings in the header.
- Select the Target tab.
- Enable channels.
- Click Next, then Save & Continue.
You will return to the Sequence ManagerA preview of the messages in a sequence, with options for editing and testing, and for running experiments.. You can start adding messages, or click Exit » Save and exit to return to the map.
Messages
Configure the message conditions and content. For details, see: Add messages to a sequence. If you just saved and exited Settings, you will already be on the Manage screen and can skip to step 3.
- Click the sequence card.
- Click .
- Set the message conditions.
- Set the delay period.
- Add the message content and configure its delivery settings.
- Click Save & Continue to complete adding the message to your sequence.
You will return to the Sequence ManagerA preview of the messages in a sequence, with options for editing and testing, and for running experiments. after adding a message. From there, click Add message and repeat these steps for each message you want to add to the sequence. Click Exit » Save and exit to return to the map.
Outcomes
You can configure outcomes in the Journey MapA visualization of messaging components that can be connected to create a continuous user experience. You can also create and edit from the map.. If using the Inactivity trigger, the outcome is pre-configured and cannot be edited.
For details about setting up each option, see: Sequence outcomes.
Start sequence
When all required components are configured, you can:
Test the sequence before starting it or publishing changes.
Create a control group before starting the sequence.
Start the sequence to make it available to your audience:
- From the map: Click the sequence card and select Start from the dropdown menu.
- From the Sequence ManagerA preview of the messages in a sequence, with options for editing and testing, and for running experiments.: Click Start.
Categories
