Media library
Store and manage image, audio, and video content for your messages. You can preview each file and assign keywords so they are easily found in search.
- Your Airship plan must include CDN support to use the media library. Contact Support if you are interested in enabling CDN media hosting.
- Uploaded media must be 2 MB or smaller.
- There are no restrictions on uploading identical files or files with identical names.
- Media that is not accessed by end users is automatically removed according to the Airship Data Retention Schedule.
- The media library is not available for MMS messages.
To access your media library, go to Content, and then select Media. Your most recent upload is listed first. Search by file name or keyword. Sort by file name, size, or upload date.
Library management actions:
| Action | Steps |
|---|---|
| Add files | Select Upload media and select up to 100 files. |
| Remove files | Select the trash can icon () in a file row. |
| Preview | Select one or more files, and a preview appears in the right sidebar. Use the arrows above the preview to go to the next file. Select the play icon () to play audio and video files. |
| Add or remove keywords | Select one or more files, enter text in the search field below the preview, and then select from returned matches or select Add keyword: [entered text]. Select the X icon to remove a keyword. Changes are applied immediately. |

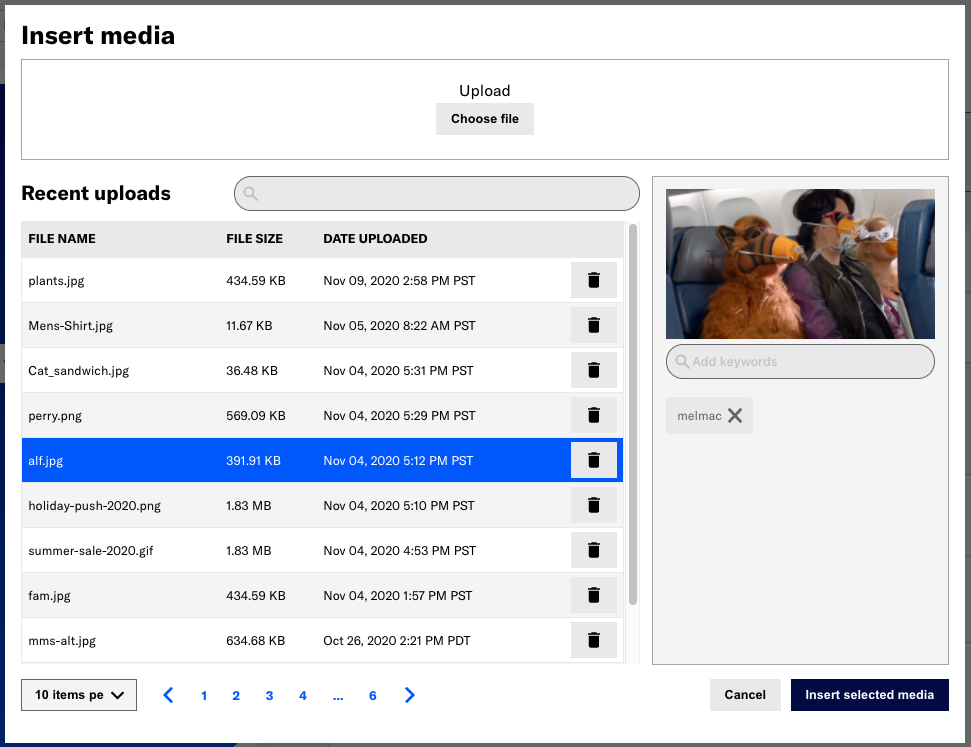
You can also access the library when inserting media in messages:
- (For a media field in a message) Select Upload, then Insert media.
- (From the WYSIWYG editor) Select an Image element in the message, then select Upload image.
- Manage your media files as needed. You cannot select multiple files when in this view.
- To add media to the message, select a file, then Insert selected media. Otherwise, select Cancel or the X icon to close.
See also Media guidelines.
Feedback
Was this page helpful?
Thank you
Thanks for your feedback!
Tell Us MoreThank you
We will try harder!
Tell Us MoreCategories
