 Jan 13, 2022
Segmentation in Journeys
Manually enter an audience segment into an Airship Journey.
The message series component of a journey is now labeled Sequence. See the announcement.
Today’s release focuses on updates to the Journey MapA visualization of messaging components that can be connected to create a continuous user experience. You can also create and edit from the map. and a new JourneyA series of messages that is initiated by a trigger. Airship sends messages in the series based on your timing settings, and you can also set conditions that determine its audience and continuation. Sequences can be connected to each other and to other messaging components to create continuous user experiences in a Journey. TriggerAn event that initiates an Automation, Sequence, or Scene..

Configuring journey triggers from the map
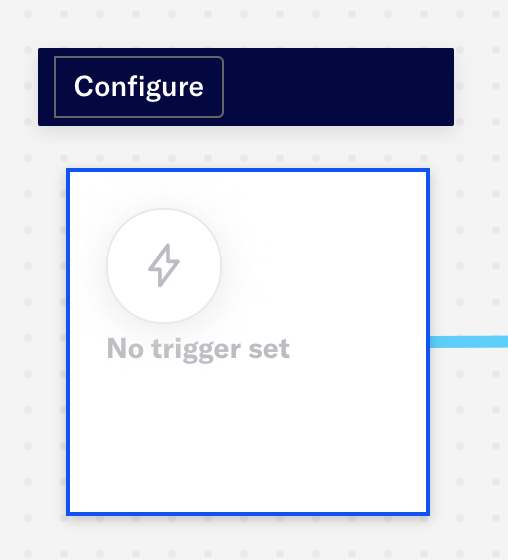
You will now see a journey’s trigger appears in a card to the left of the journey.
- Click the trigger card.
- Click Configure to open the list of triggers.
- Select and configure a trigger.
- Click Save.
Once configured, the card displays the selected trigger, and you have the option to edit the trigger for draft and paused journeys.
See: Journey map: Configuring a journey trigger.
New trigger: Manual Entry
In addition to event-based triggers, we now have the Manual Entry trigger, which initiates a journey for the audience members in a specified SegmentA grouping of audience members selected by unique or shared identifiers. Multiple identifiers can be combined within a Segment.. Once configured, the selected segment name appears on the trigger card.
In the Trigger step of the Journey composer, or from a trigger card in the journey map:
- Select the Manual Entry trigger.
- Search for and select a segment.
- Click View segment details to confirm the audience in a new window.
- If you are configuring the trigger in the Journey composer, you can skip this step and select a segment later.
- If you are configuring the trigger from the journey map, selecting a segment is required in order to save the configuration.
Next, you must enter the audience into the journey before they can start receiving messages. In the journey map, locate your journey, then:
- Click the trigger card.
- Click Enter and confirm entering the audience into the journey.
For more information, see: Journey Triggers: Manual Entry. See also: Segmenting your audience.
In-app automation as a journey trigger
The In-App Automation trigger is no longer available, but the same functionality can still be configured from the journey map, based on when the in-app message is displayed or when a button in the message is clicked. See: Journey map: In-app automation as a journey trigger.
Categories
