Product Recommendations Upsell
A great way to drive more purchases is to send timely product recommendations based on a customer’s most recent purchase. Use this guide to set up automated product recommendations with Airship Sequences.
Building a Product Recommendation Upsell Sequence
To get started, identify which behaviors will trigger users into the sequence and which behaviors will exit them out. For a sequence that promotes related products to recent purchases, customers will enter the sequence when they complete a purchase, and exit once they add an item to their cart. Setting up events to send to Airship can be done in the Android or iOS SDK with the following calls.
Add Retail Events
If you use an integration, or your application is already instrumented with custom events, you may need to adjust the event names for purchased and added_to_cart.
To enter the user into the sequence, instrument the application with an event when a cart is purchased. Use the following templates to create the purchased events:
fun onPurchase() {
    RetailEventTemplate.newPurchasedTemplate()
            .createEvent()
            .track()
}func onPurchase() {
let template = RetailEventTemplate.purchasedTemplate()
template.createEvent().track()
}Next, add added_to_cart event when an item is added to the cart. This will be used to exit the user from the sequence:
fun onAddToCart(identifier: String, description: String?) {
    RetailEventTemplate.newAddedToCartTemplate()
            .setId(identifier)
            .setDescription(description)
            .createEvent()
            .track()
}func onAddToCart(_ identifier: String, description: String?) {
let template = RetailEventTemplate.addedToCartTemplate()
template.identifier = identifier
template.eventDescription = description
template.createEvent().track()
}Setup an External Data Feed
Next, set up an external data feed to add personalized product recommendations into the sequence messages. In this example, the feed will be able to look up the customer by an ID, and provide product recommendations as well as an optional coupon code. In this guide, we’ll refer to those data feed objects as recommendations.0.product_name, coupon_value, and coupon_code. Make sure to set up the data feed with a customer_id field in order to pull in the customer’s identifier (set as a user attribute), e.g., http://airship-example.com/products/customer_id={{customer_id}}.
The customer_id needs to be an attribute set on the Named UserA customer-provided identifier used for mapping multiple devices and channels to a specific individual.. This is generally done when a user logs into the app:
fun onUserLoggedIn(user: ExampleUser) {
   // Map your internal user ID to as the named user on Airship
   UAirship.shared().contact.identify(user.userId)

   // Add attributes for personalization
   UAirship.shared().contact.editAttributes()
           .setAttribute(Attributes.FIRST_NAME, user.firstName)
           .setAttribute(Attributes.LAST_NAME, user.lastName)
           .setAttribute("customer_id", user.userId)
           .apply()
}func onUserLoggedIn(_ user: ExampleUser) {
// Map your internal user ID to as the named user on Airship
Airship.contact.identifiy(user.identifier)
// Add attributes for personalization
Airship.contact.editAttributes { editor in
editor.set(string: user.firstName, attribute: Attributes.firstName)
editor.set(string: user.lastname, attribute: Attributes.lastName)
editor.set(string: user.identifier, attribute: "customer_id")
}
}Create the Sequence
Now that your app is set up to send the necessary events, and the data feed is set up to pull in the recommended product details and coupon codes, it’s time to create your sequence.
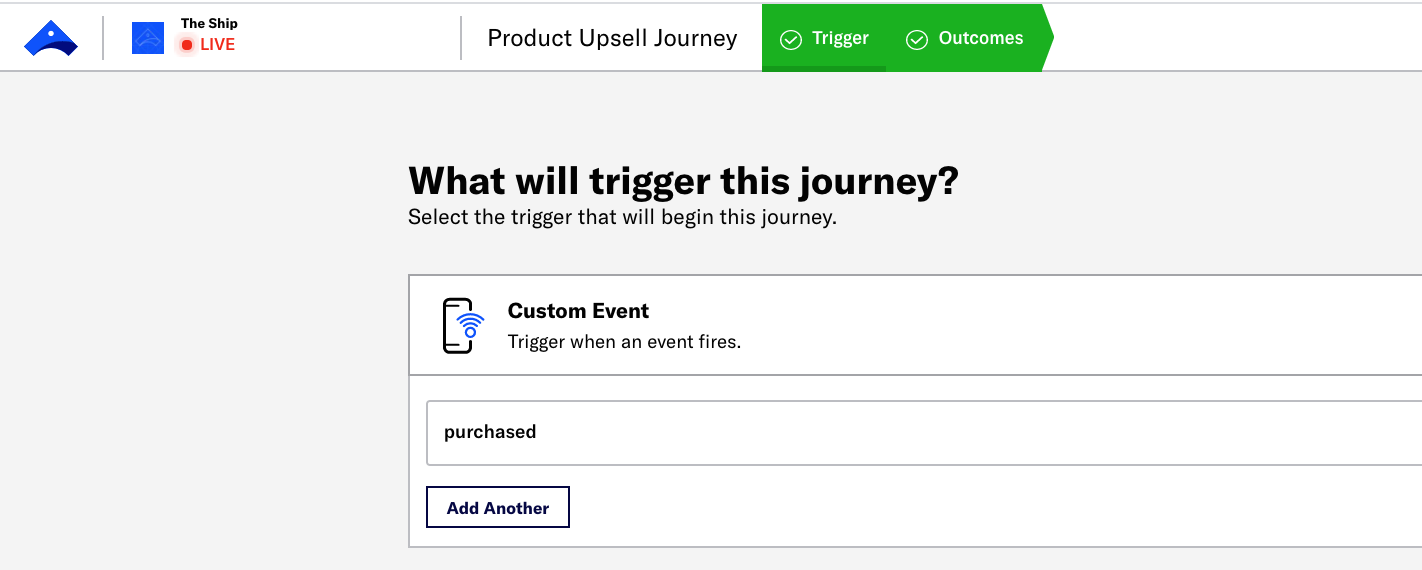
Click at the top of your project’s dashboard, select Sequence, then click Start from scratch. Name the sequence Product Upsell, then use purchased for the Custom Event trigger, and use add_to_cart event as the Conversion goal.

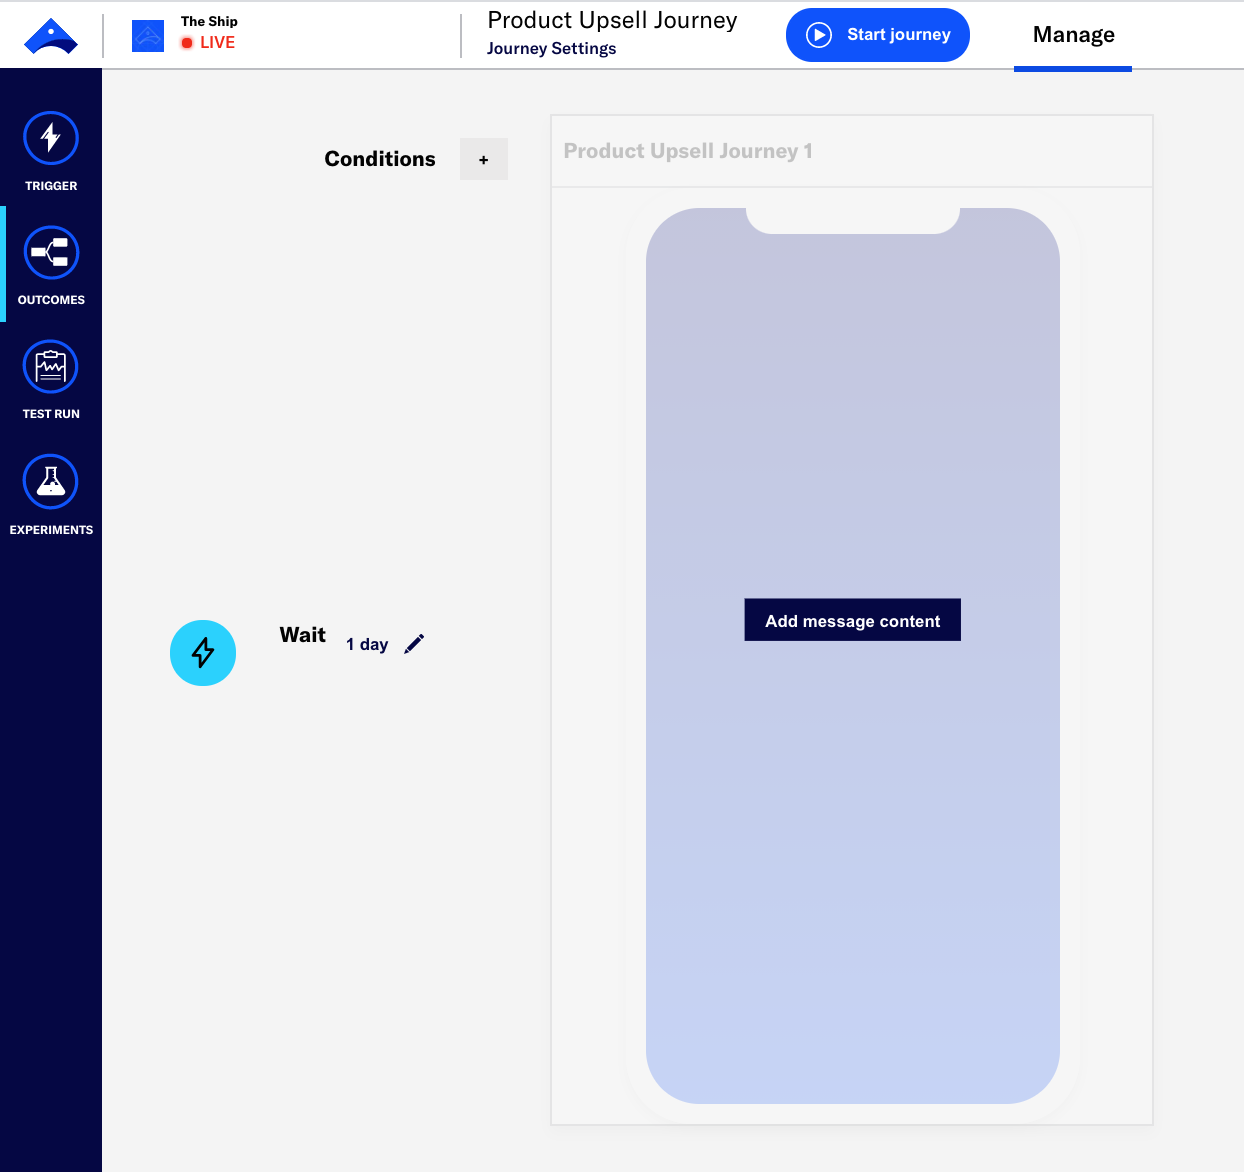
Next, choose the delivery time for the first message. In this example, the first message will be delivered 1 day after the most recent purchased event has occurred.

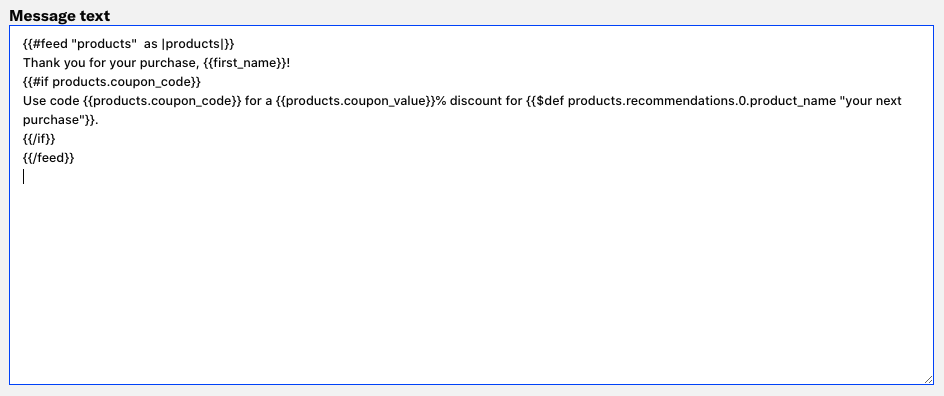
Next, we can define the message that will be delivered. In this case, the message is a push notification. To personalize the message with the related item and coupon code, we’ll pull from the external data feed. We’ll use a template to create the push and add in the personalization fields. The template can be pulled into the sequence when editing the message.
In the example personalized message, we are addressing the customer by their first name and thanking them for their purchase. If the data feed has a coupon code for the customer, then the message will contain the first recommended item (or a default value if there are no recommendations available) along with the coupon code and value.

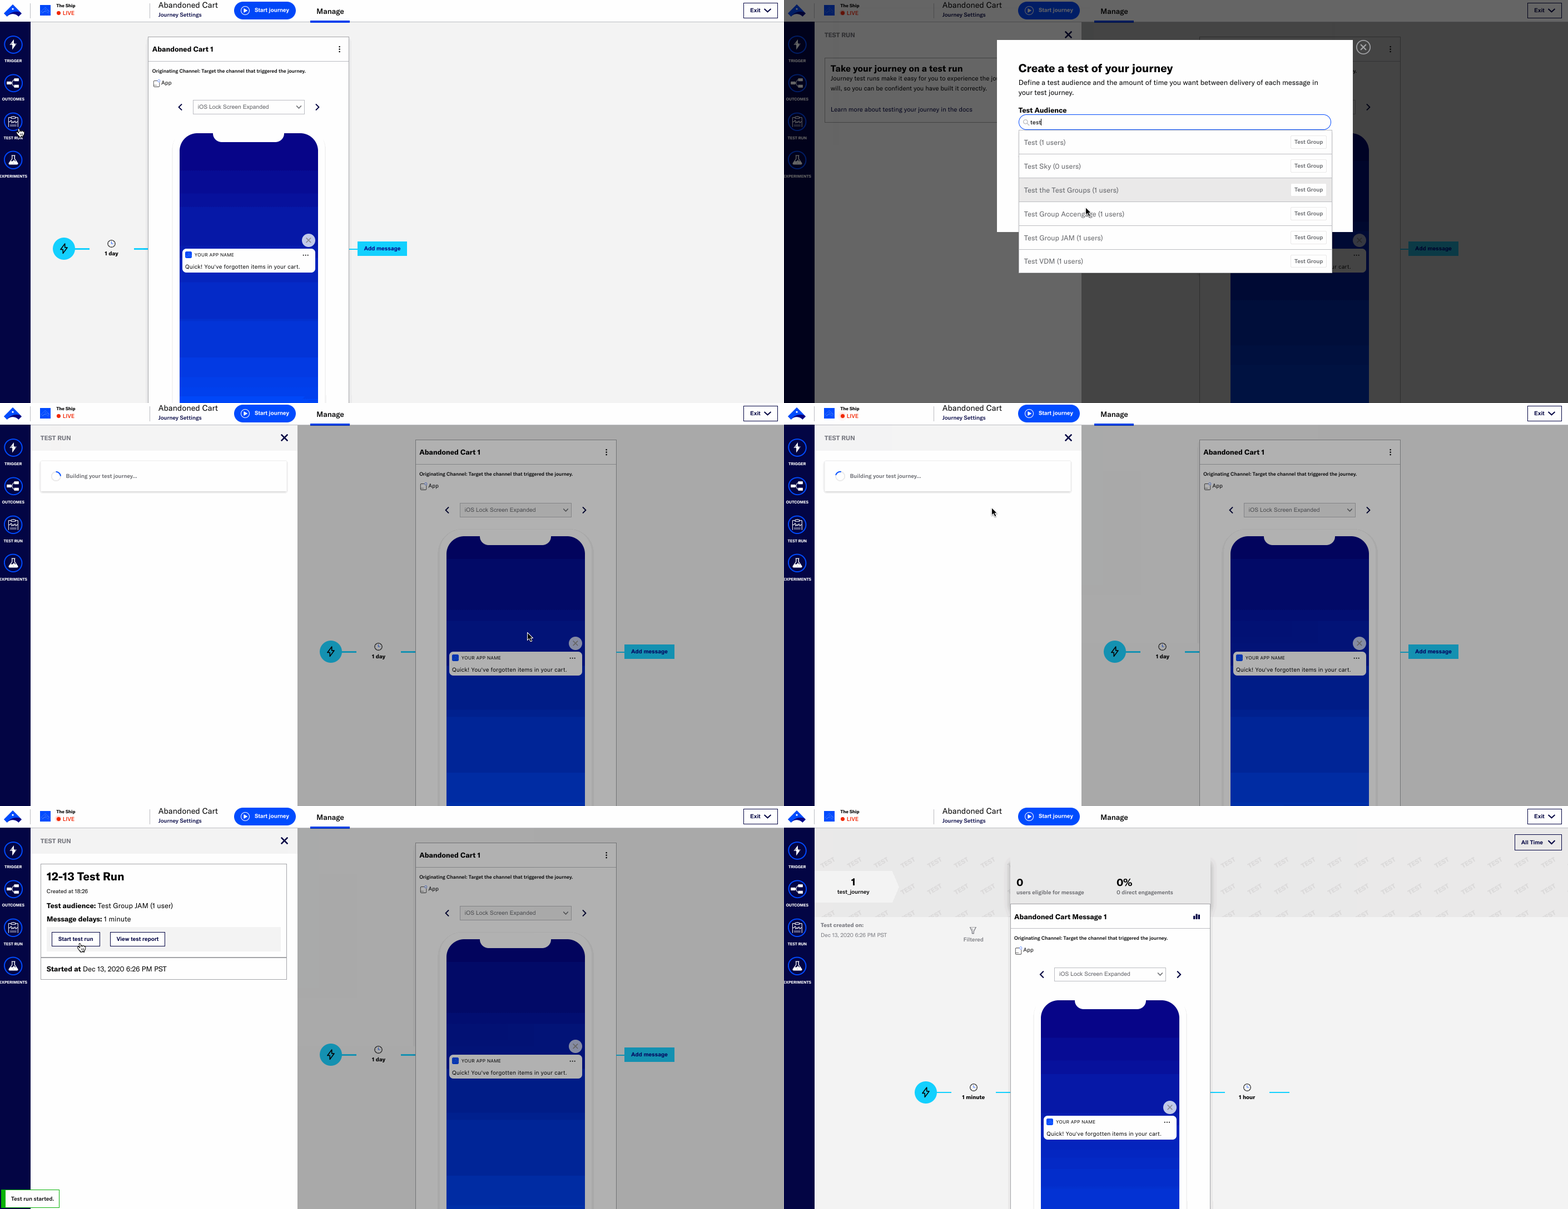
Once setup is complete, the sequence is ready for testing and can be started. We recommend using the Test Run feature to ensure the messages are built correctly as they are delivered to your test devices.

Categories
