Boost Push Opt-In with In-App Automation
Push notifications are key when it comes to communicating with your app users. In order to send your users notifications, they have to opt in. With iOS devices you only get one chance to ask your users to opt-in, which means it is critical to make sure you ask your users at the right time and in a thoughtful way.
Airship’s In-App AutomationMessages cached on users’ devices and displayed when users meet certain conditions within your app, such as viewing a particular screen or opening the app a certain number of times. makes it easy to create a soft prompt for a user’s permission, giving you the opportunity to maximize your opt-in rates, no development effort required. Here’s how to get started.
For more information about each step mentioned here, see: Create an in-app automation.
Create an In-App Automation
Our goal is to create a custom in-app message to evaluate whether or not the user is ready to opt in to our push messaging.
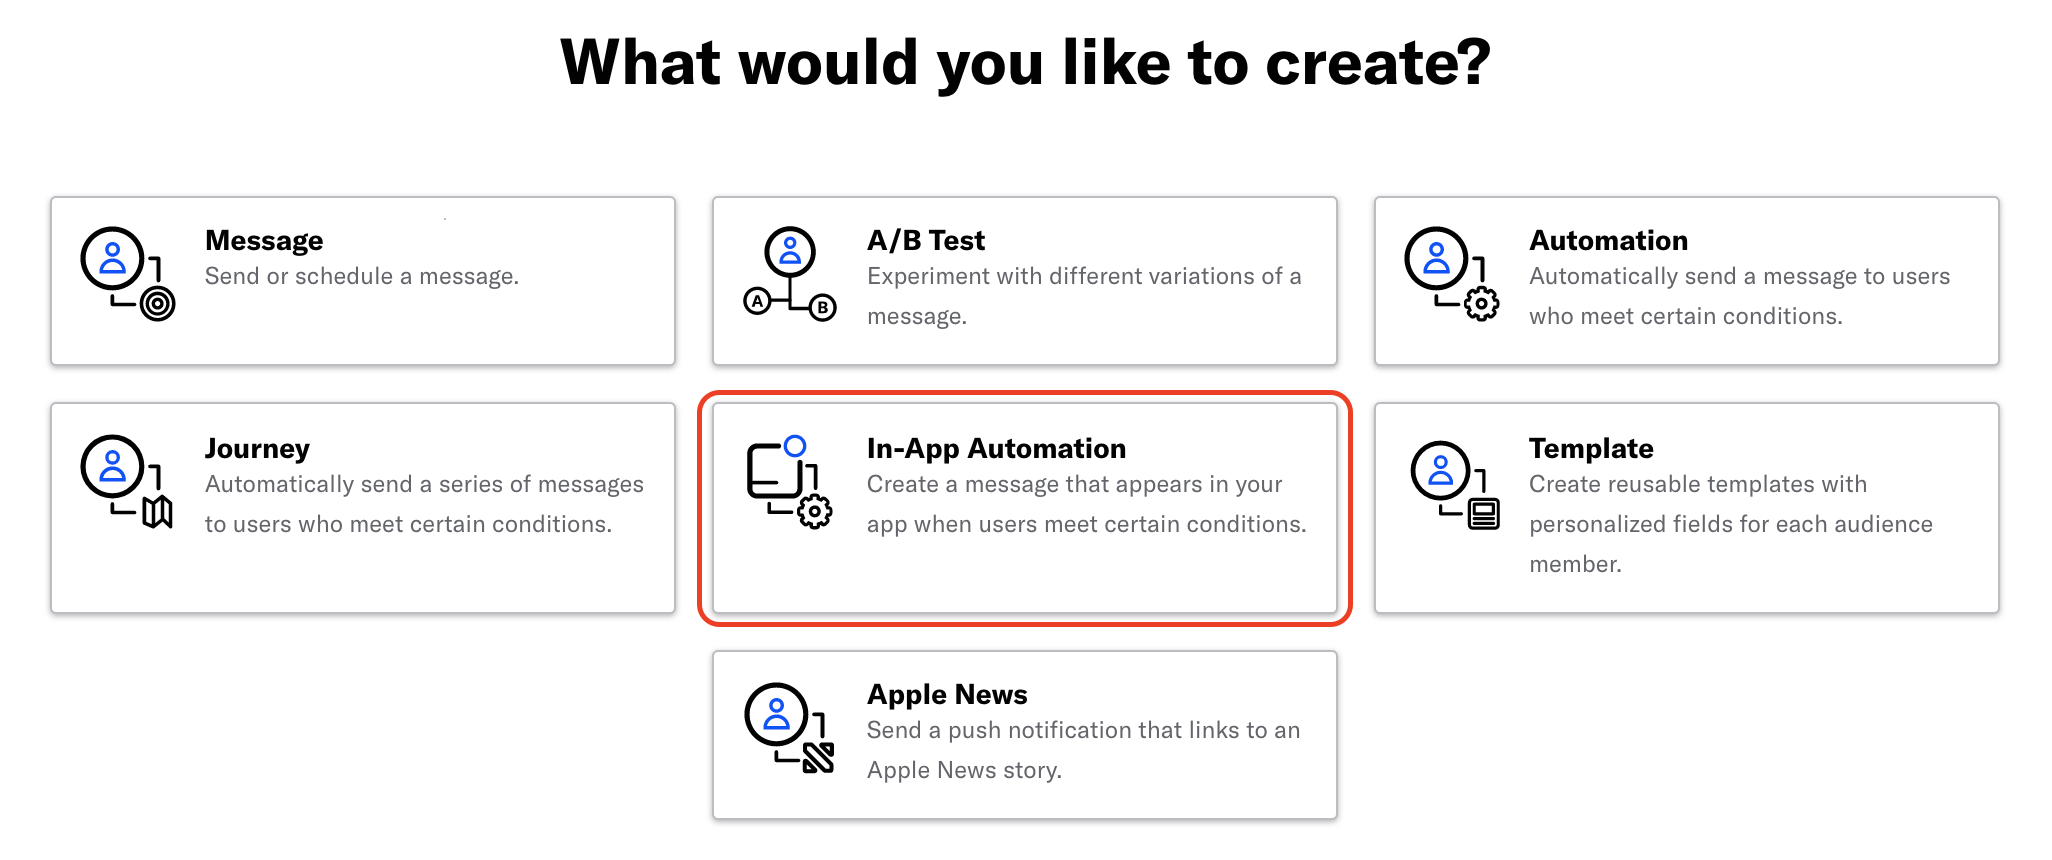
Click at the top of your project’s dashboard, then select In-App Automation.

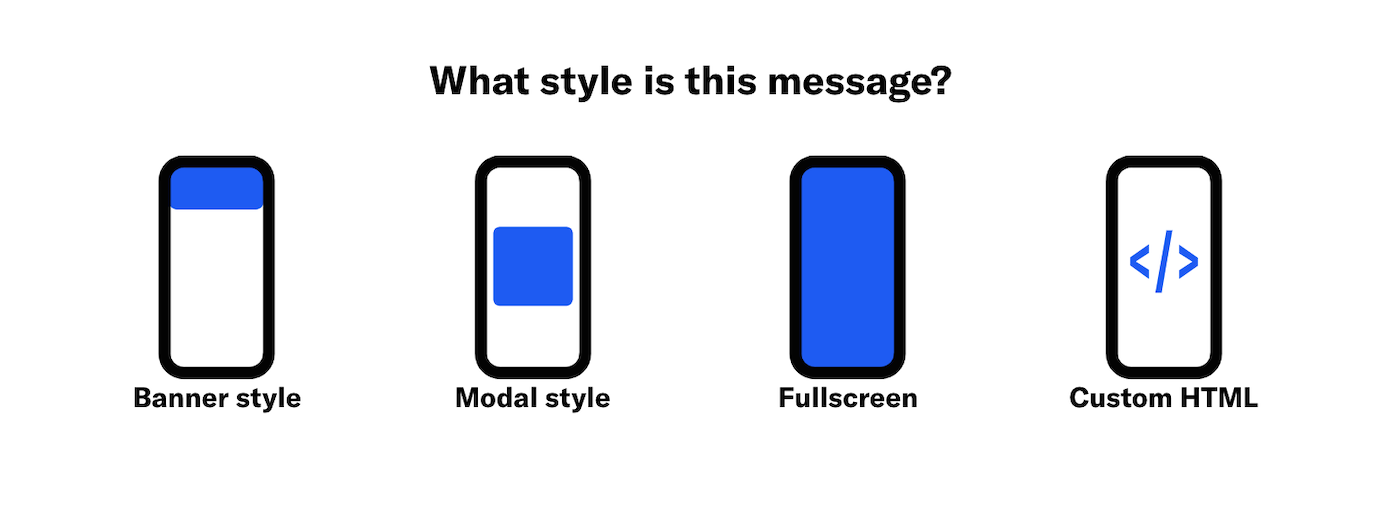
Pick the right style and layout
When choosing the style of the message, we advise to use modal or fullscreen so you have some room to explain the reasons for your request.

The layout is really up to you, but it’s known that adding an image will make your message more engaging. For this example we are choosing the Media | Header | Body layout for a fullscreen message.
If your account includes Personalization features, you will instead select a layout in the Content step.
Customize the In-App Automation
The next step, Settings, is where you give your message a name and choose among options Airship proposes, for example:
- Set a message priority to make sure users see your opt-in request before other messages.
- Enter a campaign category to make your reporting easier.
- Enable localization so that you can address your global audience in different languages.
In this tutorial, we will not add any options and call our message Push opt-in request.
It’s important to choose the right audience for this message. In the Audience step, our recommendation is to target by Push opt-in status and choose Opted-out of push notifications, which will target users who are not yet opted in.
Now you have to set up the content of your in-app message. It should give the user context for what types of notifications they can expect, or what the benefit is to them for opting in (e.g., don’t miss updates about your favorite show, or important account transaction notifications, etc.).
Also, it should be designed in a way that if a user says No, no worries, you can still try again later. Create two buttons, with labels Maybe later and Yes please.
If your account includes Personalization features, first click Classic and select a layout, then proceed with configuring the content.

Add a call to action to opt-In
In the Actions step, you will assign an action for each button. Airship provides an easy way to trigger the system prompt for push notifications opt-in — select Push Opt-in for the Yes please button.
Also note that we added a tag when the Maybe later button is tapped, in case you want to retarget those users.

Triggering the prompt
Finally, in the Behavior step, you need to decide what will trigger your in-app message. A simple and our-of-the-box way to do it is to display the message after the app is opened a certain number of times: select the App Open trigger and enter a number.

Another smart way is to track specific custom events that would be defined in your app. Emphasizing exactly how push notifications will contribute and enhance the user experience based on their unique actions is more likely to sway your users to opt in. Depending on your industry, it can vary, but here are few examples: Viewed item, Articles read, Number of sessions, etc. Select the Custom Event trigger, specify an event, then enter the number of times the event must occur before the message will display. You can specify multiple events.

Review and make active
Once setup is complete, the in-app automation is ready and can be made active. Click Finish. 🎉
Categories
