Create an Automation
Use the Automation composer to automatically send a message to users when predefined conditions are met.
Each automation counts toward your Sequences and Automation Message LimitLimits that cap the number of messages you can send within a specified time frame, preventing you from over-messaging your users. They are set at the project level..
To get started, access the Automation composer:
- Select Create in the sidebar.
- Next to Build from scratch, select View all.
- Select Automation.
After completing a step, select the next one in the header to move on.
Setup
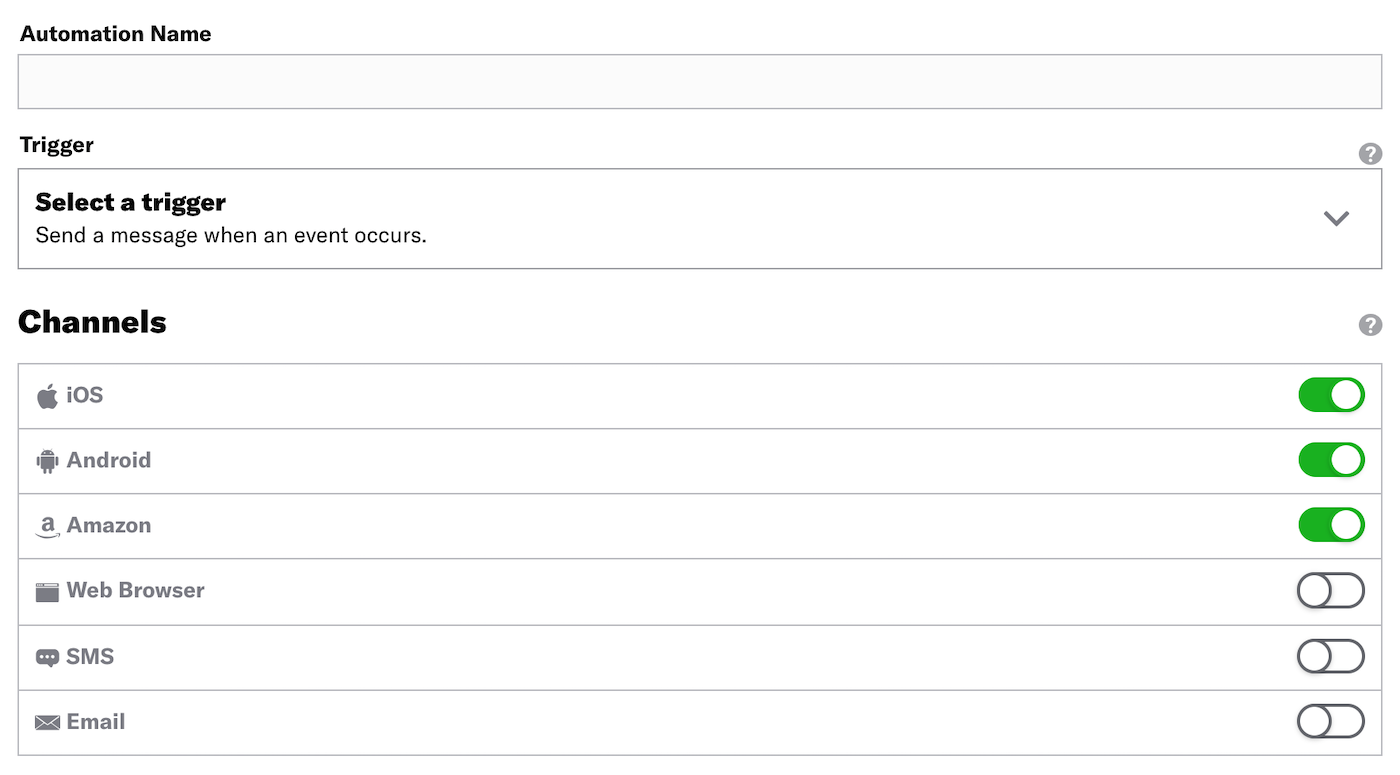
Enter a descriptive Automation Name, configure the trigger that will initiate your automation, and enable the channels you want to send the message to. Available channels are based on your trigger.

After selecting a trigger, you can configure these options: Cancellation Events, Conditions, and Rule Limits.
Cancellation Events
Cancellation events are Custom Events that prevent an Automation, Sequence, In-App Automation, or Scene from sending/displaying if they occur while the Automation (or other) is in a delay period. Not supported for the Inactivity trigger.
- Enable Cancellation Events.
- Complete the same workflow used for the Custom Event trigger. This includes the option to filter the cancellation events.
Cancellation events require a delay of at least one hour to ensure that there is time for the cancellation event to occur after the original triggering event occurs. In the Delivery step in an automation, you must specify a delay of at least one hour.
Conditions
Conditions are requirements your audience must meet in order to receive a message from an automation. You can base conditions on whether a user has or does not have a specific TagMetadata that you can associate with channels or Named Users for audience segmentation. Generally, they are descriptive terms indicating user preferences or other categorizations, e.g., wine_enthusiast or weather_alerts_los_angeles. Tags are case-sensitive., Predicted to Churn statusAnalyzes your audience for users that exhibit behaviors indicating they are likely to become inactive, and tags the users as High, Medium, or Low Risk., or Device PropertyMetadata representing the default attributes and property tags of a device, such as language and time zone settings, OS and browser versions, and notification opt-in status. Device properties are used for audience segmentation. The data used for the tags and attributes is collected automatically from the Airship SDKs, and are updated daily., or whether or not they are a member of a Subscription ListAn audience list of users who are opted in to messaging about a specific topic. Users can manage their opt-in status per list using a Preference Center..
If sending an SMS message, you can use tag conditions to restrict your message audience to a particular Sender IDAn originating phone number or string identifier used to indicate who an SMS message comes from. Members of your audience subscribe (opt in) to each sender ID they want to receive messages from.. Either search for a sender ID, or select the Sender ID filter before searching.
Enable Conditions.
Click Add a condition.
Choose whether Any or All of the conditions must be satisfied before the message is sent.
Choose whether audience members must have or not have the tag to receive the message.
- Has: The user must have the tag/status/device property to receive the message. For a subscription list, this means the user must be a member of (opted in to) the list.
- Doesn’t Have: The user must not have the tag/status/device property to receive the message. For a subscription list, this means the user must not be a member of (not opted in to) the list.
Search for the data you want to use as a condition. To filter results, click and make your selection. Search behavior varies by filter:
- All (no filter selected): Search within all condition types.
- Tags: Search for primary device tags (tags in the
devicetag group). - Tag Groups: Search for and select a tag group, then search within that tag group.
- Predicted to Churn: Search for all or part of
High,Medium,LoworPredictedonly. - Subscription List: Search subscription list names only.
To create a new tag using your search term, click Create [search term].
(Optional) Click Add another condition to add more tag conditions.
Rule Limits
Rule limits cap the number of messages a user can receive from an Automation within a time frame, preventing you from over-messaging your audience, e.g., a maximum of 1 per day. Rule limits are set per Automation.- Enable Rule Limits.
- Click Add a Daily Limit and/or Add an All-Time Limit and enter a number.
Content
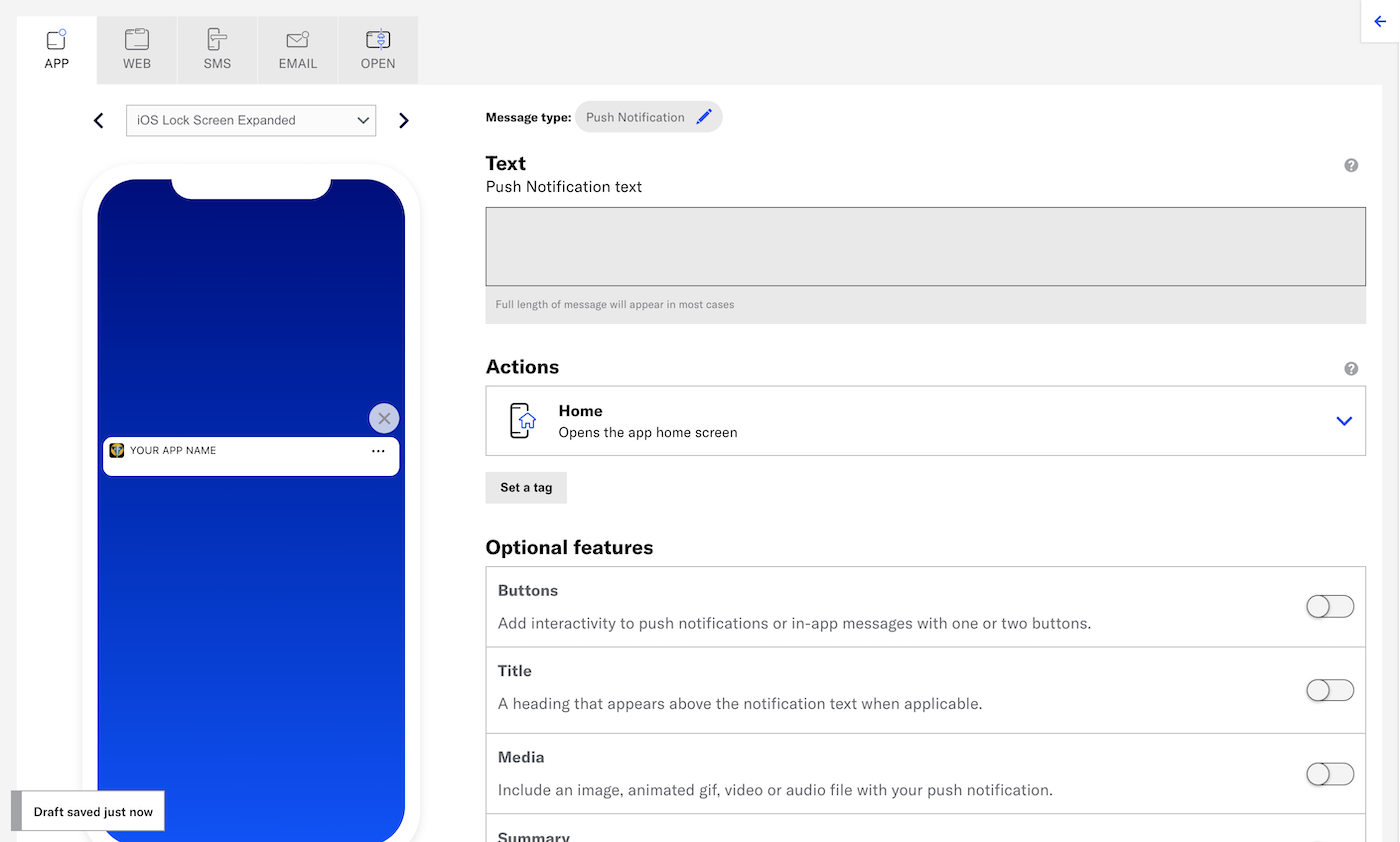
Configure the message content per enabled channel. See Content by channel.

Delivery
Configure delivery. Timing settings do not appear if you chose the Inactivity trigger.
Review
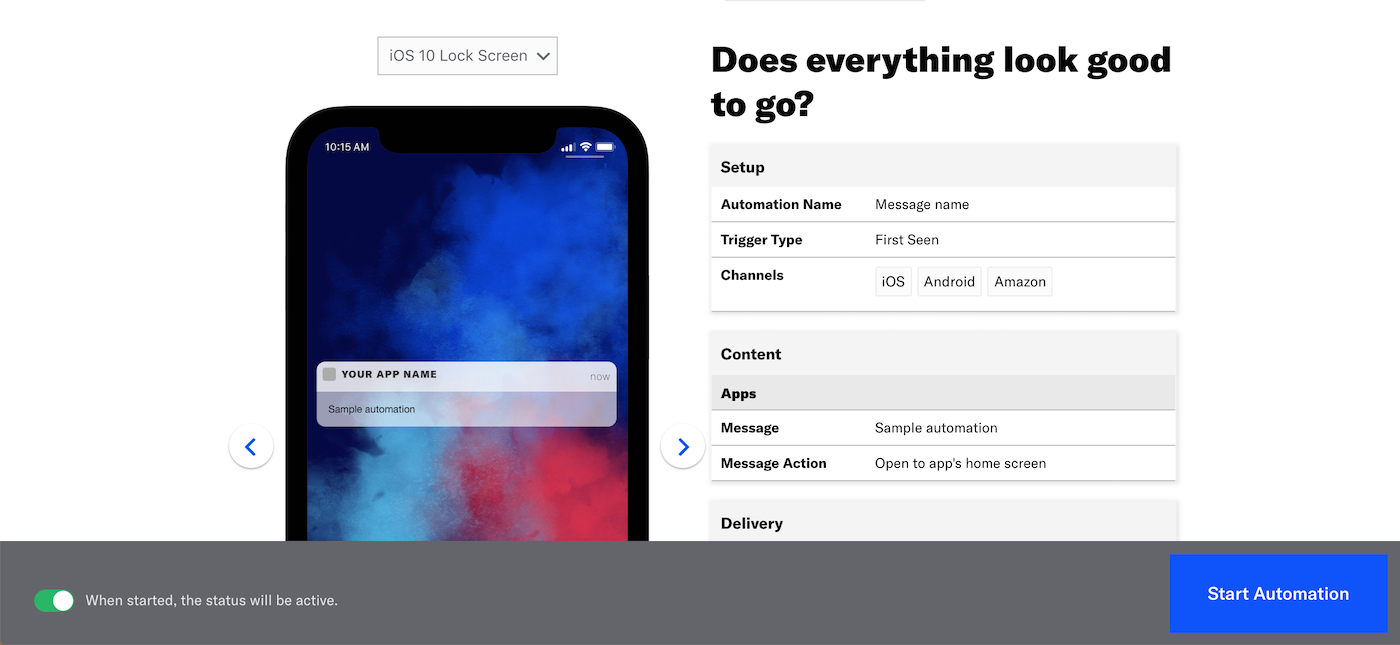
Review the device preview and message summary. Click the arrows to page through the various previews. The channel and display type dynamically update in the dropdown menu above. You can also select a preview directly from the dropdown menu.

If you want to make changes, click the associated step in the header, make your changes, then return to Review.
Send a test message to verify its appearance and behavior on each configured channel. The message is sent to your selected recipients immediately, and it appears as a test in Messages OverviewA view of all your project’s messages, with options for editing their settings, content, status, and more..
- Select Send Test.
- Select Send Test.
- Under Test audience, enter at least one Named UserA customer-provided identifier used for mapping multiple devices and channels to a specific individual. or Test GroupA preview group is audience group used for previewing personalized content in the dashboard. Wherever a personalization preview is available, you can select a preview group, and its group members’ attributes will appear for any Handlebars references to attributes. You can enable any preview group as a test group so you can send test messages to its group members. These messages appear as tests in Messages Overview. and select from the results. If your message includes email, you can also search for email addresses. If no matches appear for an address, you can select Create channel for <address>, and the channel will be registered for your project and opted in to transactional messaging.
- (If your message contains HandlebarsHandlebars is Airship’s templating language for personalization. Handlebars expressions use double curly braces wrapped around a content template, ranging from a simple variable, e.g.,
{{first_name}}, to complex evaluations of personalization data.) Under Personalization, select and configure a personalization data source:Data source Description Steps Test message recipient The message will be personalized using information associated with each test audience member. n/a Preview Data tool The message will be personalized using the data currently entered in the Preview Data tool. The same values will apply to all test message recipients. You can also manually edit the JSON. (Optional) Edit the JSON data. - Select Send.
Choose whether to create this automation as Active or Paused. Select Paused if you’d like to create the message but aren’t quite ready to activate it. After starting your automation, you can change its status at any time.
Click Start Automation or Schedule Automation.
Convert an Automation to a Sequence
Convert an Automation to a Sequence so you can use features like Control Groups, Test Run, and A/B Testing. You can also add more messages.
After conversion:
- The Automation name is copied to the Sequence.
- The Automation trigger and settings are copied to the Sequence.
- The Automation message content and settings are copied to the first message in the Sequence.
- The Sequence status is the same as the Automation status at the time of conversion: Started if the Automation was active, and Paused if the Automation was paused, or Draft.
- The converted Automation is archived and cannot be un-archived.
To convert to a Sequence:
- Go to Messages, then Messages Overview.
- Click the duplicate icon () for an Automation, and select Convert to: Sequence.
The next screen will be the Sequence ManagerA preview of the messages in a Sequence, with options for editing and testing, and for running experiments. for the new Sequence.