Create a message
Use the Message composer to send a single message to any channel.
To get started, select the Create dropdown menu (), then select Message. After completing a step, select the next one in the header to move on. Select the gear icon () to name the message or flag it as a test.
Audience
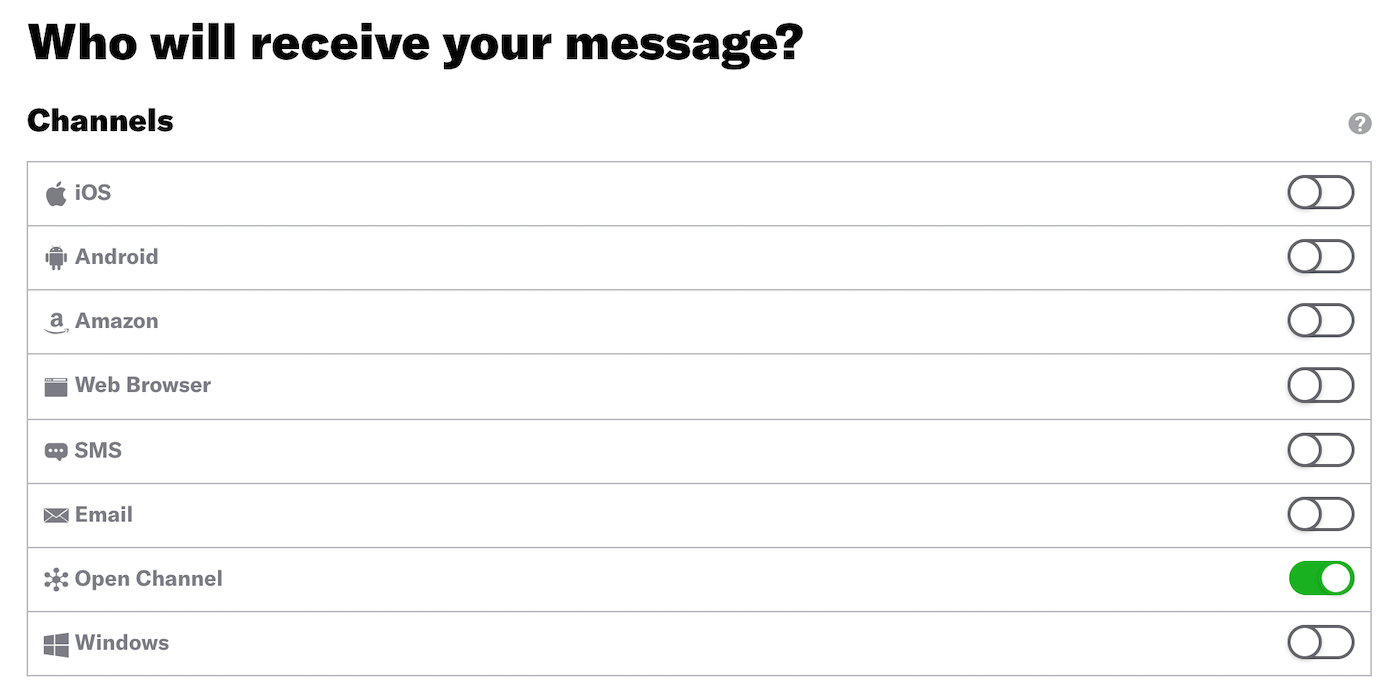
Enable the channels you want to send the message to, then choose a group of users.
| Option | Description | Steps |
|---|---|---|
| All Users | Your entire audience for the selected channels | n/a |
| Target Specific Users | Audience members in a group you define | Use the same procedure as Building Segments.. |
| Test Users | Members of a Test GroupA preview group is audience group used for previewing personalized content in the dashboard. Wherever a personalization preview is available, you can select a preview group, and its group members’ attributes will appear for any Handlebars references to attributes. You can enable any preview group as a test group so you can send test messages to its group members. These messages appear as tests in Messages Overview. | Select a Test Group. |
| Upload Users | Upload a list of users just before sending the message. | See Upload and Send in Bulk Sending. |
To make this audience eligible for retargeting, enable Generate retargeting segments. This option is only available when your only selected channels are app platforms, Web, and Email.
Content
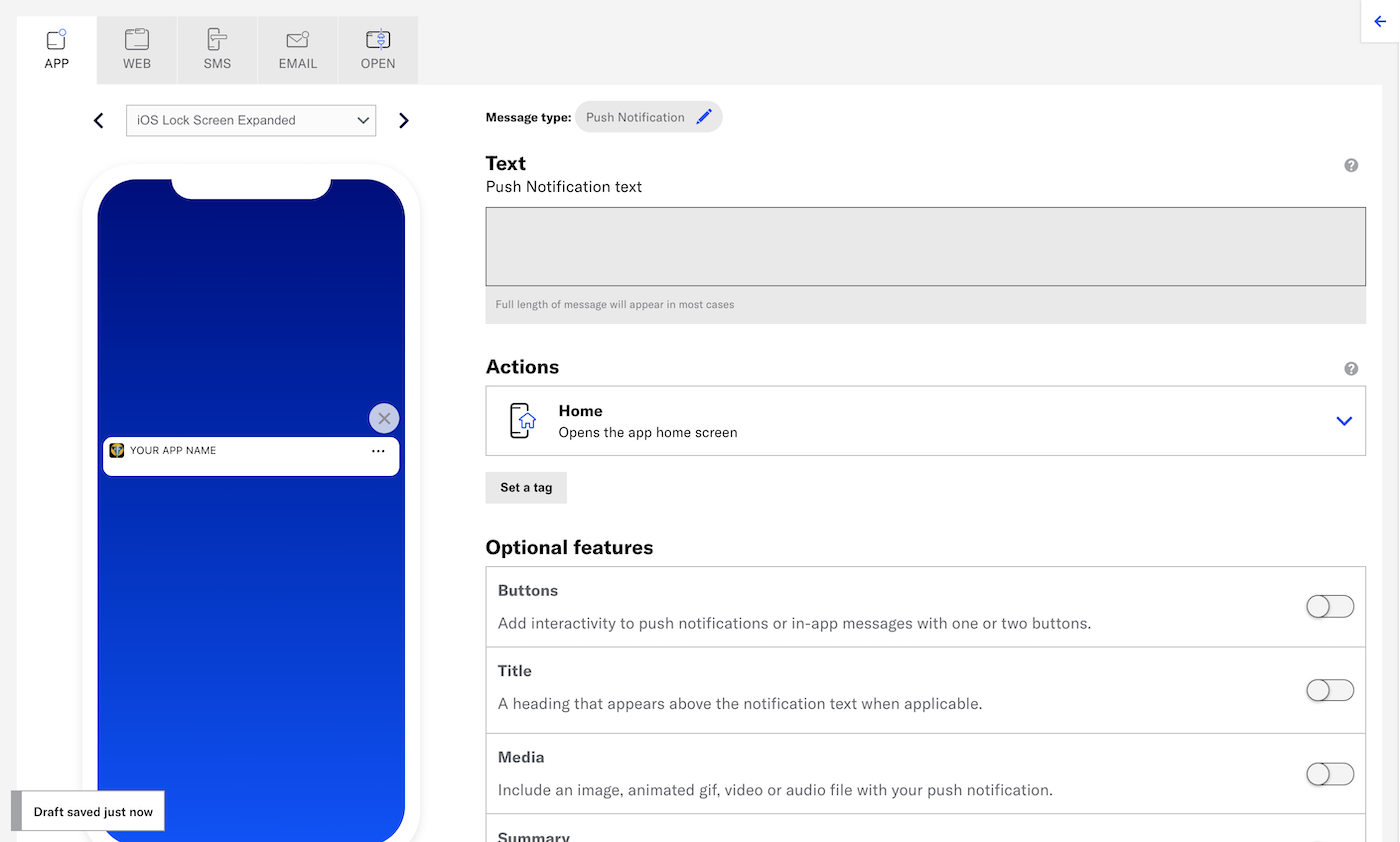
Configure the message content per enabled channel. See Content by channel.

Delivery
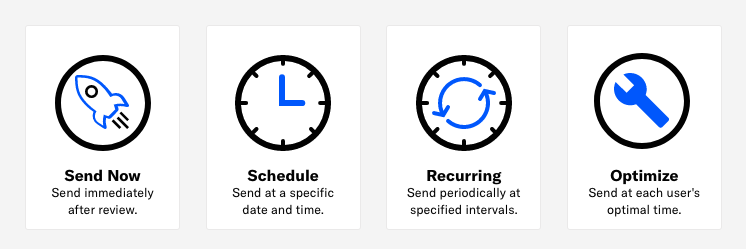
Configure delivery.

Review
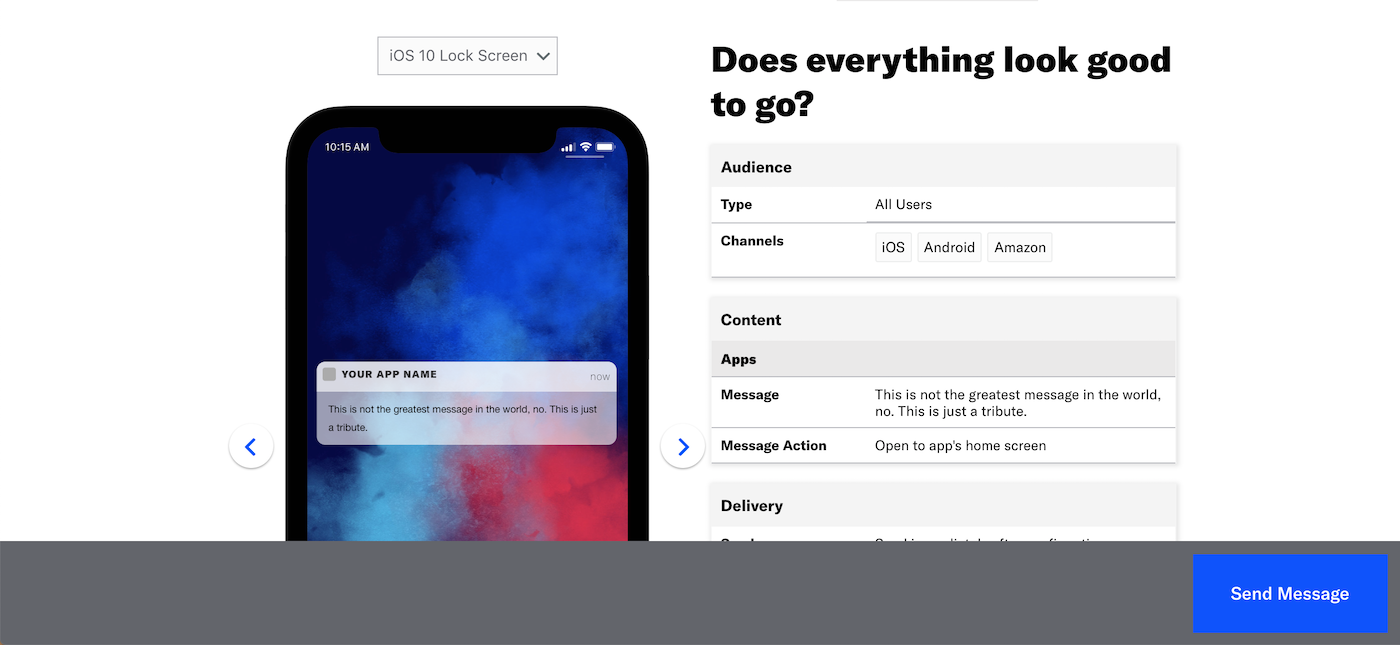
Review the device preview and message summary. Click the arrows to page through the various previews. The channel and display type dynamically update in the dropdown menu above. You can also select a preview directly from the dropdown menu.

If you want to make changes, click the associated step in the header, make your changes, then return to Review.
Send a test message to verify its appearance and behavior on each configured channel. The message is sent to your selected recipients immediately, and it appears as a test in Messages OverviewA view of all your project’s messages, with options for editing their settings, content, status, and more..
- Select Send Test.
- (If your message includes localized content) Under Localization, select a language-country pair to apply to the test message.
- Under Test audience, enter at least one Named UserA customer-provided identifier used for mapping multiple devices and channels to a specific individual. or Test GroupA preview group is audience group used for previewing personalized content in the dashboard. Wherever a personalization preview is available, you can select a preview group, and its group members’ attributes will appear for any Handlebars references to attributes. You can enable any preview group as a test group so you can send test messages to its group members. These messages appear as tests in Messages Overview. and select from the results. If your message includes email, you can also search for email addresses. If no matches appear for an address, you can select Create channel for <address>, and the channel will be registered for your project and opted in to transactional messaging.
- (If your message contains HandlebarsHandlebars is Airship’s templating language for personalization. Handlebars expressions use double curly braces wrapped around a content template, ranging from a simple variable, e.g.,
{{first_name}}, to complex evaluations of personalization data.) Under Personalization, select and configure a personalization data source:Data source Description Steps Test message recipient The message will be personalized using information associated with each test audience member. n/a Preview Data tool The message will be personalized using the data currently entered in the Preview Data tool. The same values will apply to all test message recipients. You can also manually edit the JSON. (Optional) Edit the JSON data. - Select Send.
If you chose Upload Users in the Audience step, click Upload & Send and select your file. Uploaded merge field names will be verified against the merge fields set in the Content step. For more information, see Bulk sending.
To create an A/B test with this message as a variant, select Create A/B Test. You will leave the Message composer and go to the variants list in the new A/B test. See Message A/B tests.
Click Send Message or Schedule Message.
Categories


