Web content
Reach your web channel on desktop and mobile browsers.
See also the Push notifications feature guide.
Creating content
When creating messages, you configure its appearance in the Content step. In the Delivery step, you can configure content-related features that do not affect the appearance of the message.
In the Content step, click Web Notification:
Now you can configure the body of the message:
Enter the message text. If you are using HandlebarsHandlebars is Airship’s templating language for personalization. Handlebars expressions use double curly braces wrapped around a content template, ranging from a simple variable, e.g.,
{{first_name}}, to complex evaluations of personalization data., you can test how the content will appear. See Previewing personalized content.- Home
- Web Page
- Adaptive Link
(Optional) Set and/or remove tags when the user interacts with your message.
- Click Configure options.
- Select Add tag or Remove tag, then search for tags that exist in the system, or create a new tag.

- (Optional) Click Configure another option and repeat the previous step.
Tip Setting one or more tags when a user interacts with a message can help you track user interactions for follow-on retargeting campaigns. For example, if you set a tag
responded-campaign1, you can target users bearing theresponded-campaign1tag with another message at a later date, knowing that they are active users. Alternatively, you can re-engage users with this tag using an automated message if they are inactive for a period of time.Configure optional features:
Now you are ready to complete the remaining steps in the composer.
Icon
Enter a URL to add an icon to your web push notification, overriding the default icon specified in your Web Notifications configuration. Safari is not supported. See also Media guidelines.
If your Airship plan includes CDN support, you can also upload media or select from previously uploaded media:
- Select Upload and then Insert Media.
For additional information, see Media library.

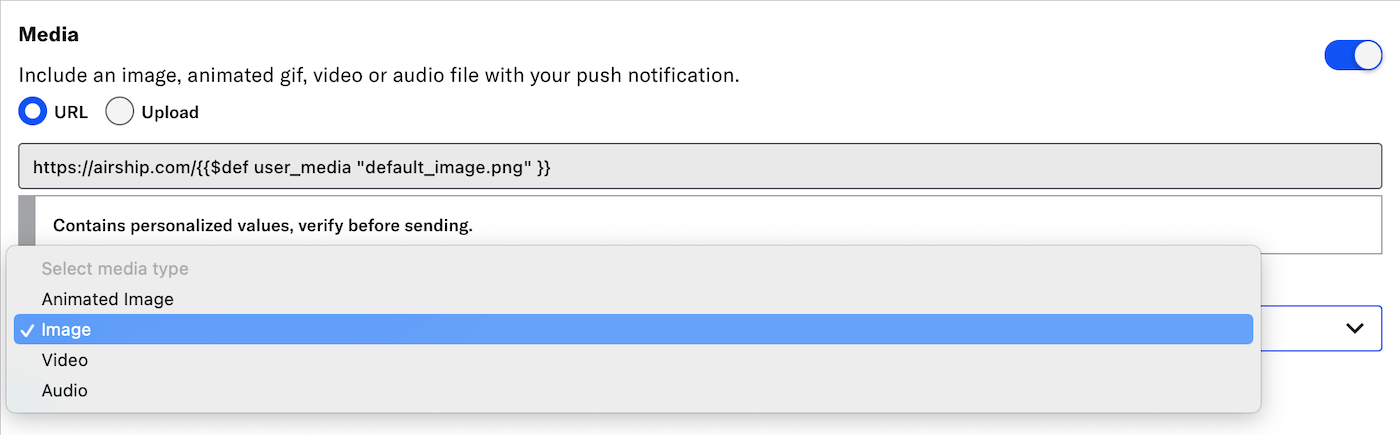
Media
Enter a URL to add media to your notifications. See also Media guidelines.
If using a personalized media URL for an App push notification, you must specify the media type after entering the URL:
If your Airship plan includes CDN support, you can also upload media or select from previously uploaded media:
- Select Upload and click Insert Media.
For additional information, see Media library.
Title
Enter a title to create a heading that appears above the notification text. The title set here will override the default title configured for your web notifications.