Sending your first message
Send your first push or web push notification to a test group.
If you haven’t already done so, create a test group before following these steps.
- Click and select Message.
- Select Test Users, choose your test group, and click Content in the header.
Note You can modify which channels are included in your audience, but since this is a new project configured for a single channel, a single app channel or Web should already be enabled.
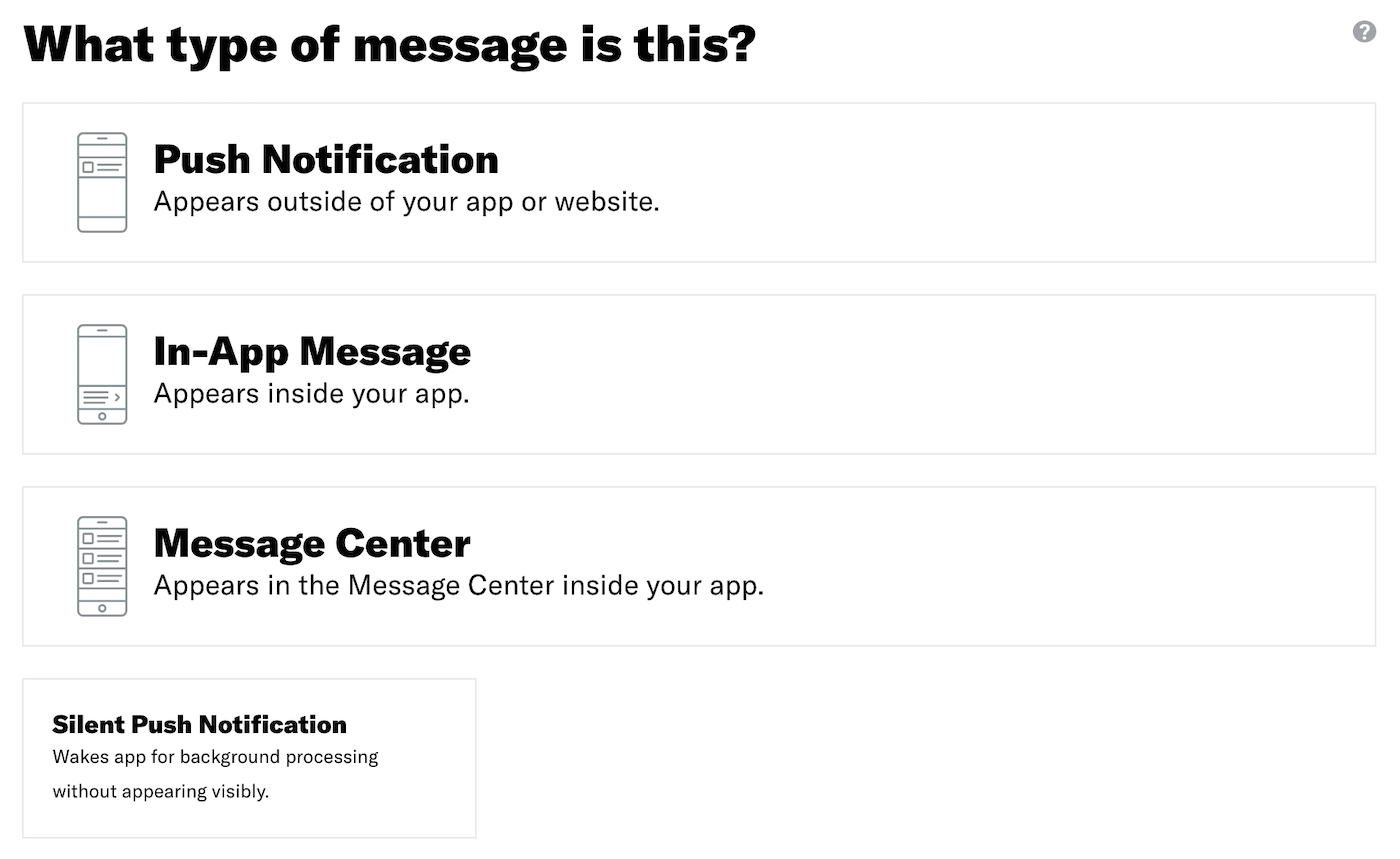
- Select Push Notification and click Add Content.

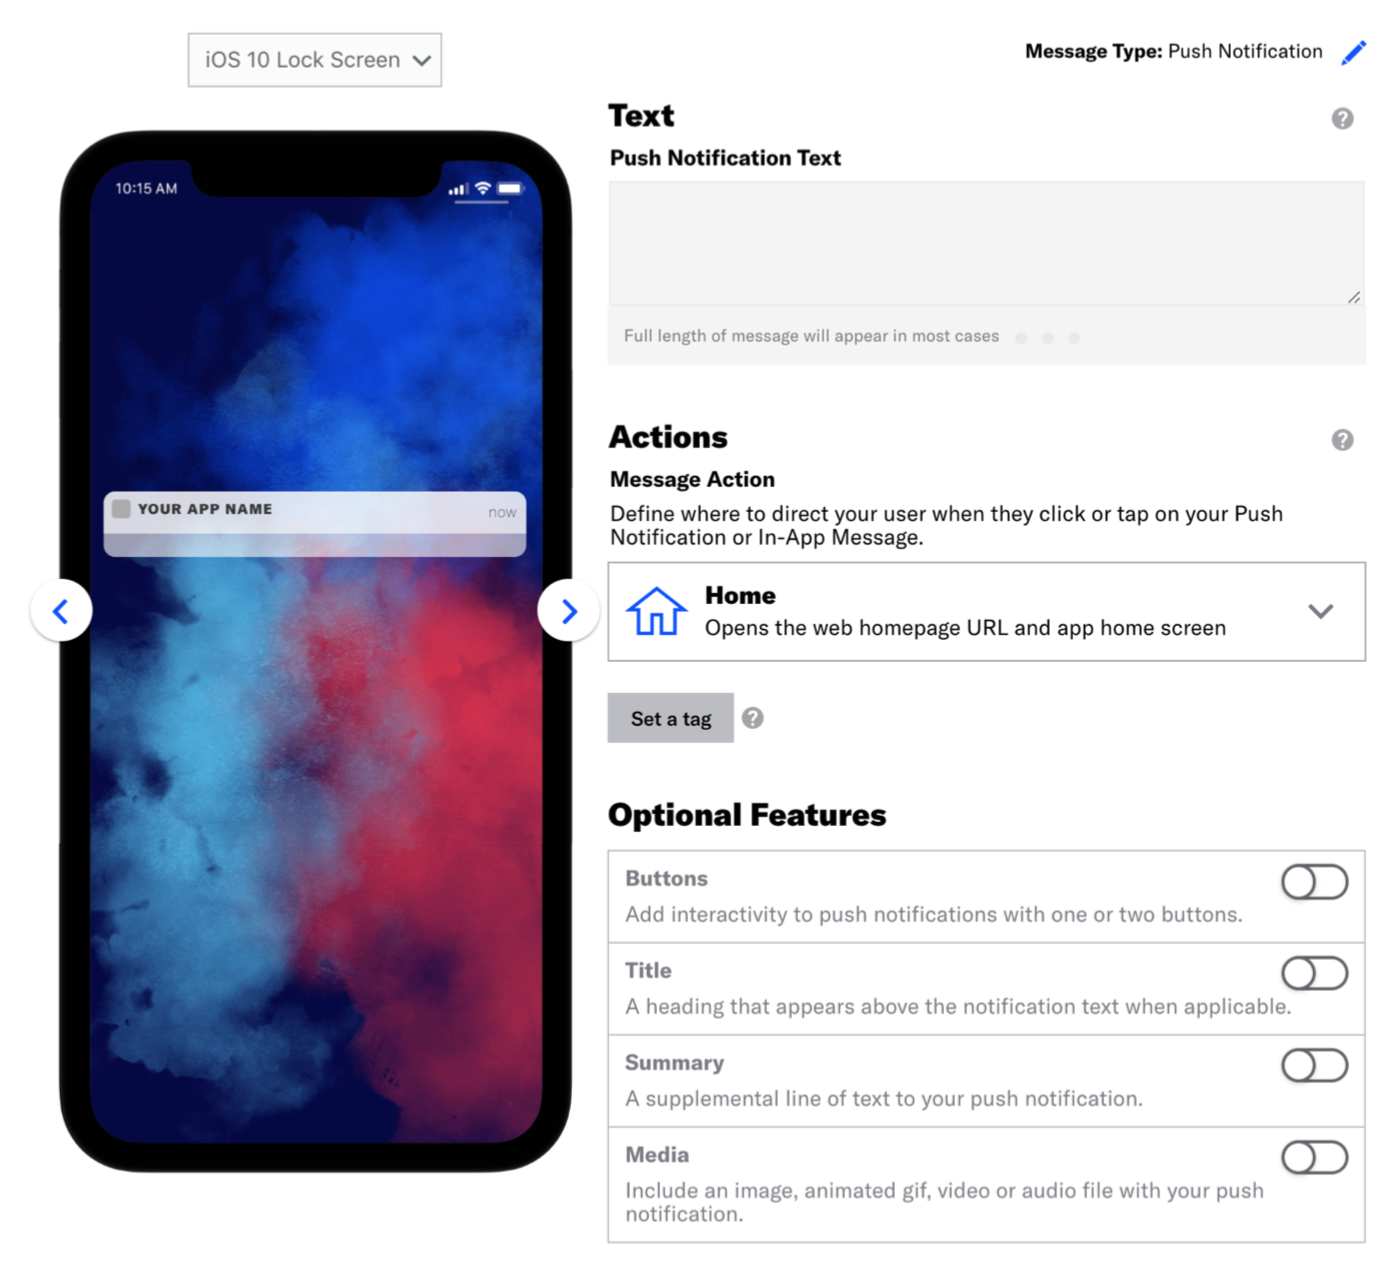
- Enter the text that will display in your message, then click Delivery in
the header. A preview will display as you type.

- Click Send Now, then click Review & Send in the header.
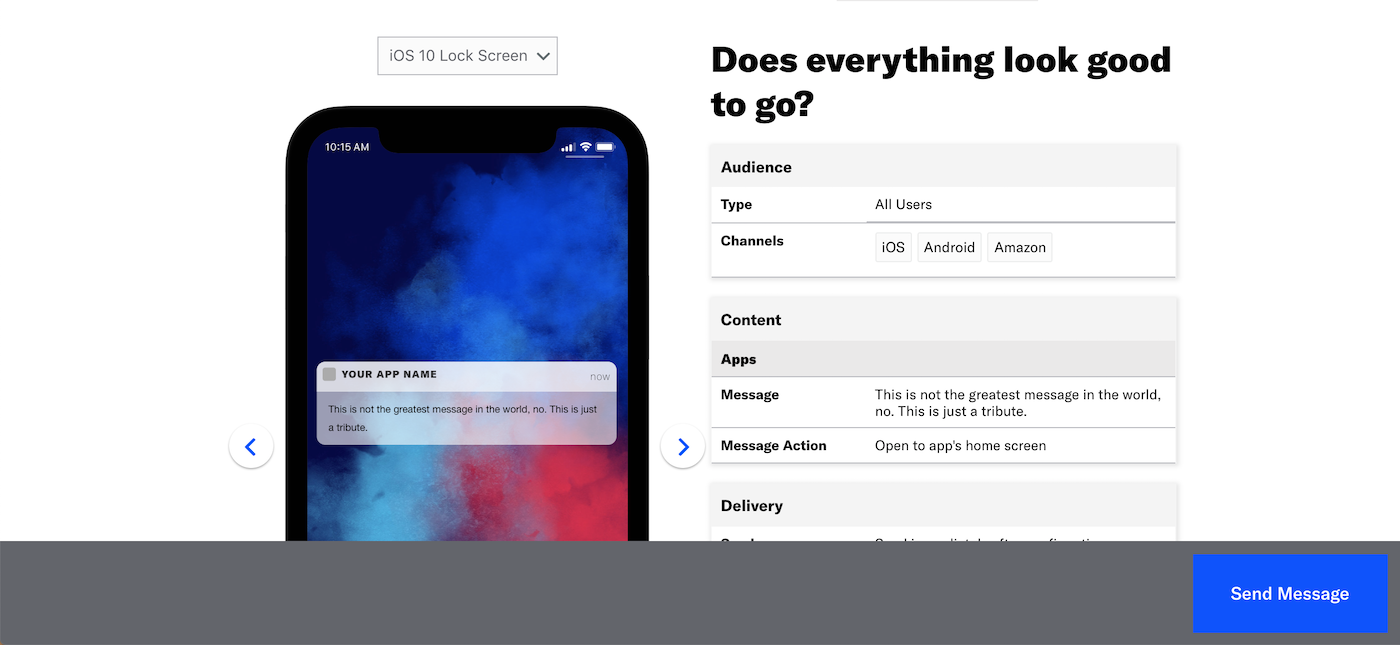
- Review the device preview and message summary. Click the arrows to page
through the various previews.
The channel and display type dynamically update in the dropdown menu
above. You can also select a preview directly from the dropdown menu.

- Click Send Message at the bottom of the window.
If all has been configured correctly, you just sent your first push or web push notification! Because the message was sent to Test Users, you should see the push notification appear on the mobile device or web browser for the users defined in your selected test group. If this is not the case, review the steps in Creating a test group and reattempt this tutorial.
Feedback
Was this page helpful?
Thank you
Thanks for your feedback!
Tell Us MoreThank you
We will try harder!
Tell Us MoreCategories
