Push Notifications for the React Native Module
How to configure your application to receive and respond to notifications.
Before setting up push notifications in your app, you need to configure push services in the Airship dashboard. See iOS Channel Configuration for APNs setup and Android Channel Configuration for FCM setup.
Platform Setup
Before you can send and receive push notifications, you need to configure your app for the platform(s) you’re targeting.
iOS
Enable Push Notifications Capability
Open your project in Xcode.
Click on your project in the Project Navigator.
Select your main app target and then click the Signing & Capabilities tab.
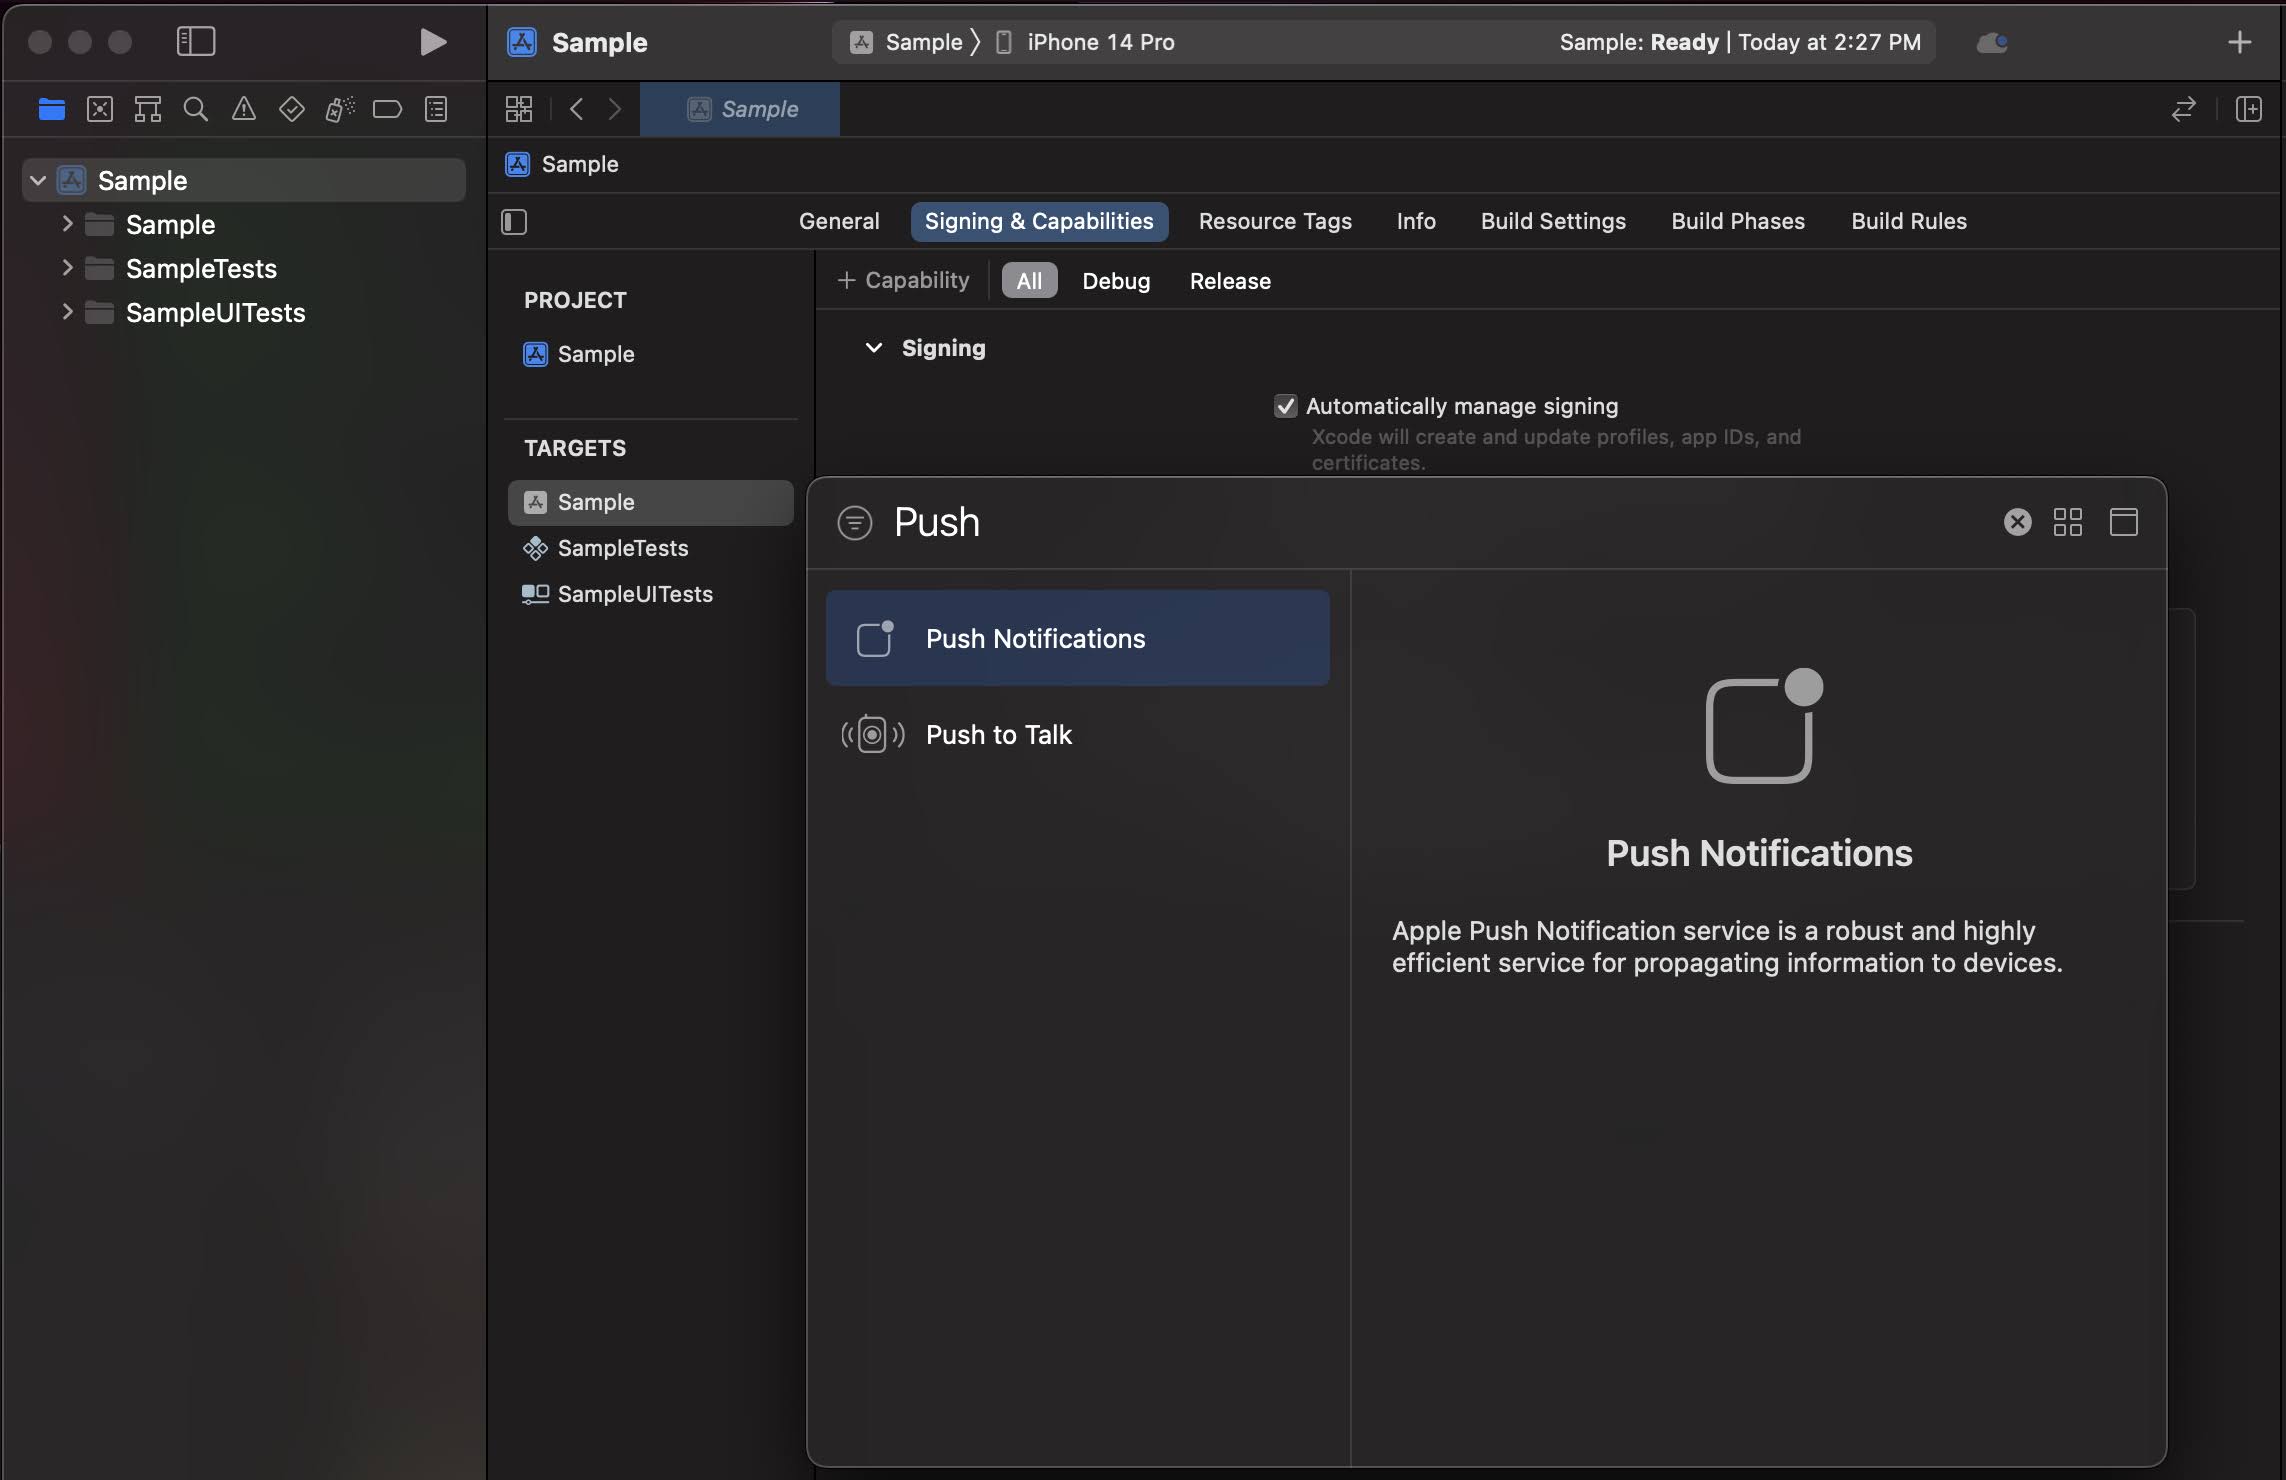
If you do not see Push Notifications enabled, click + Capability and add Push Notifications.

Enable Background Modes
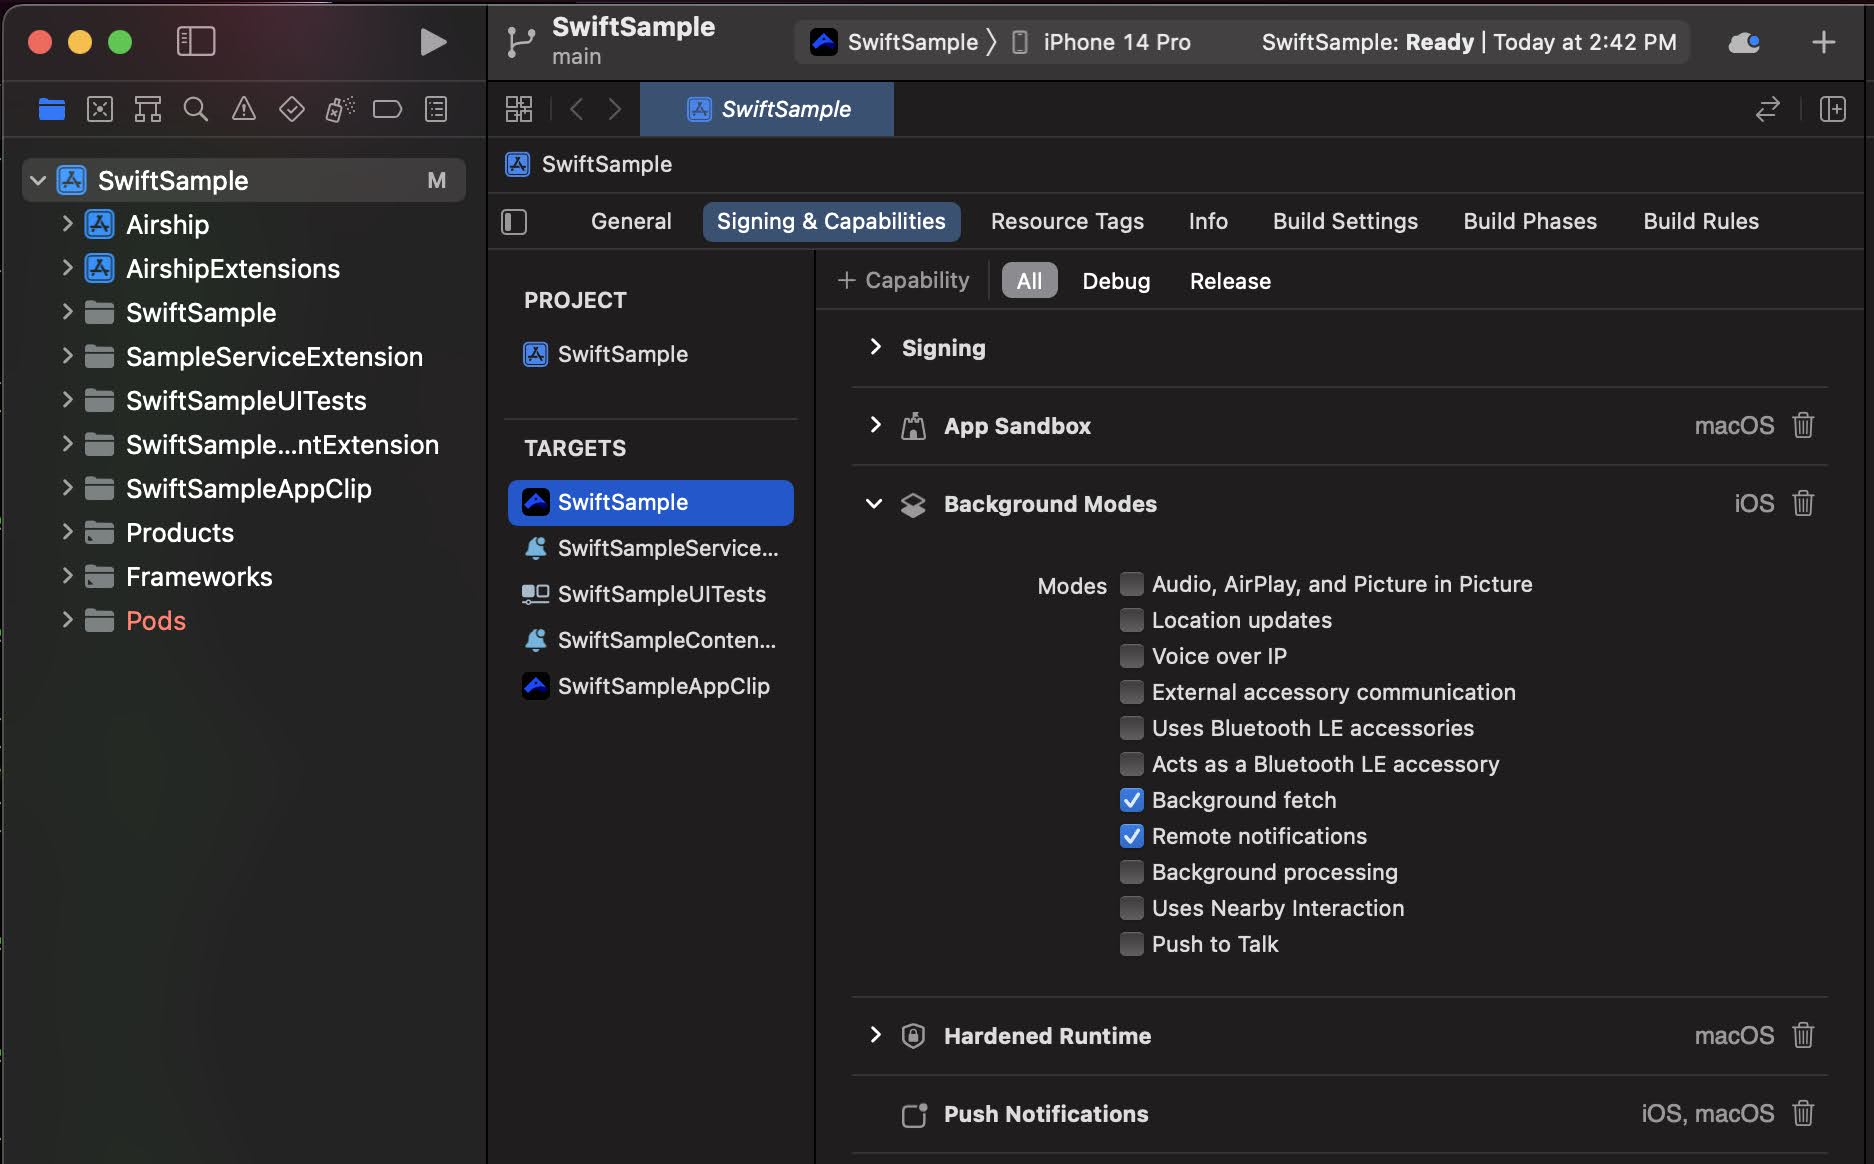
Select your main app target and then click the Signing & Capabilities tab.
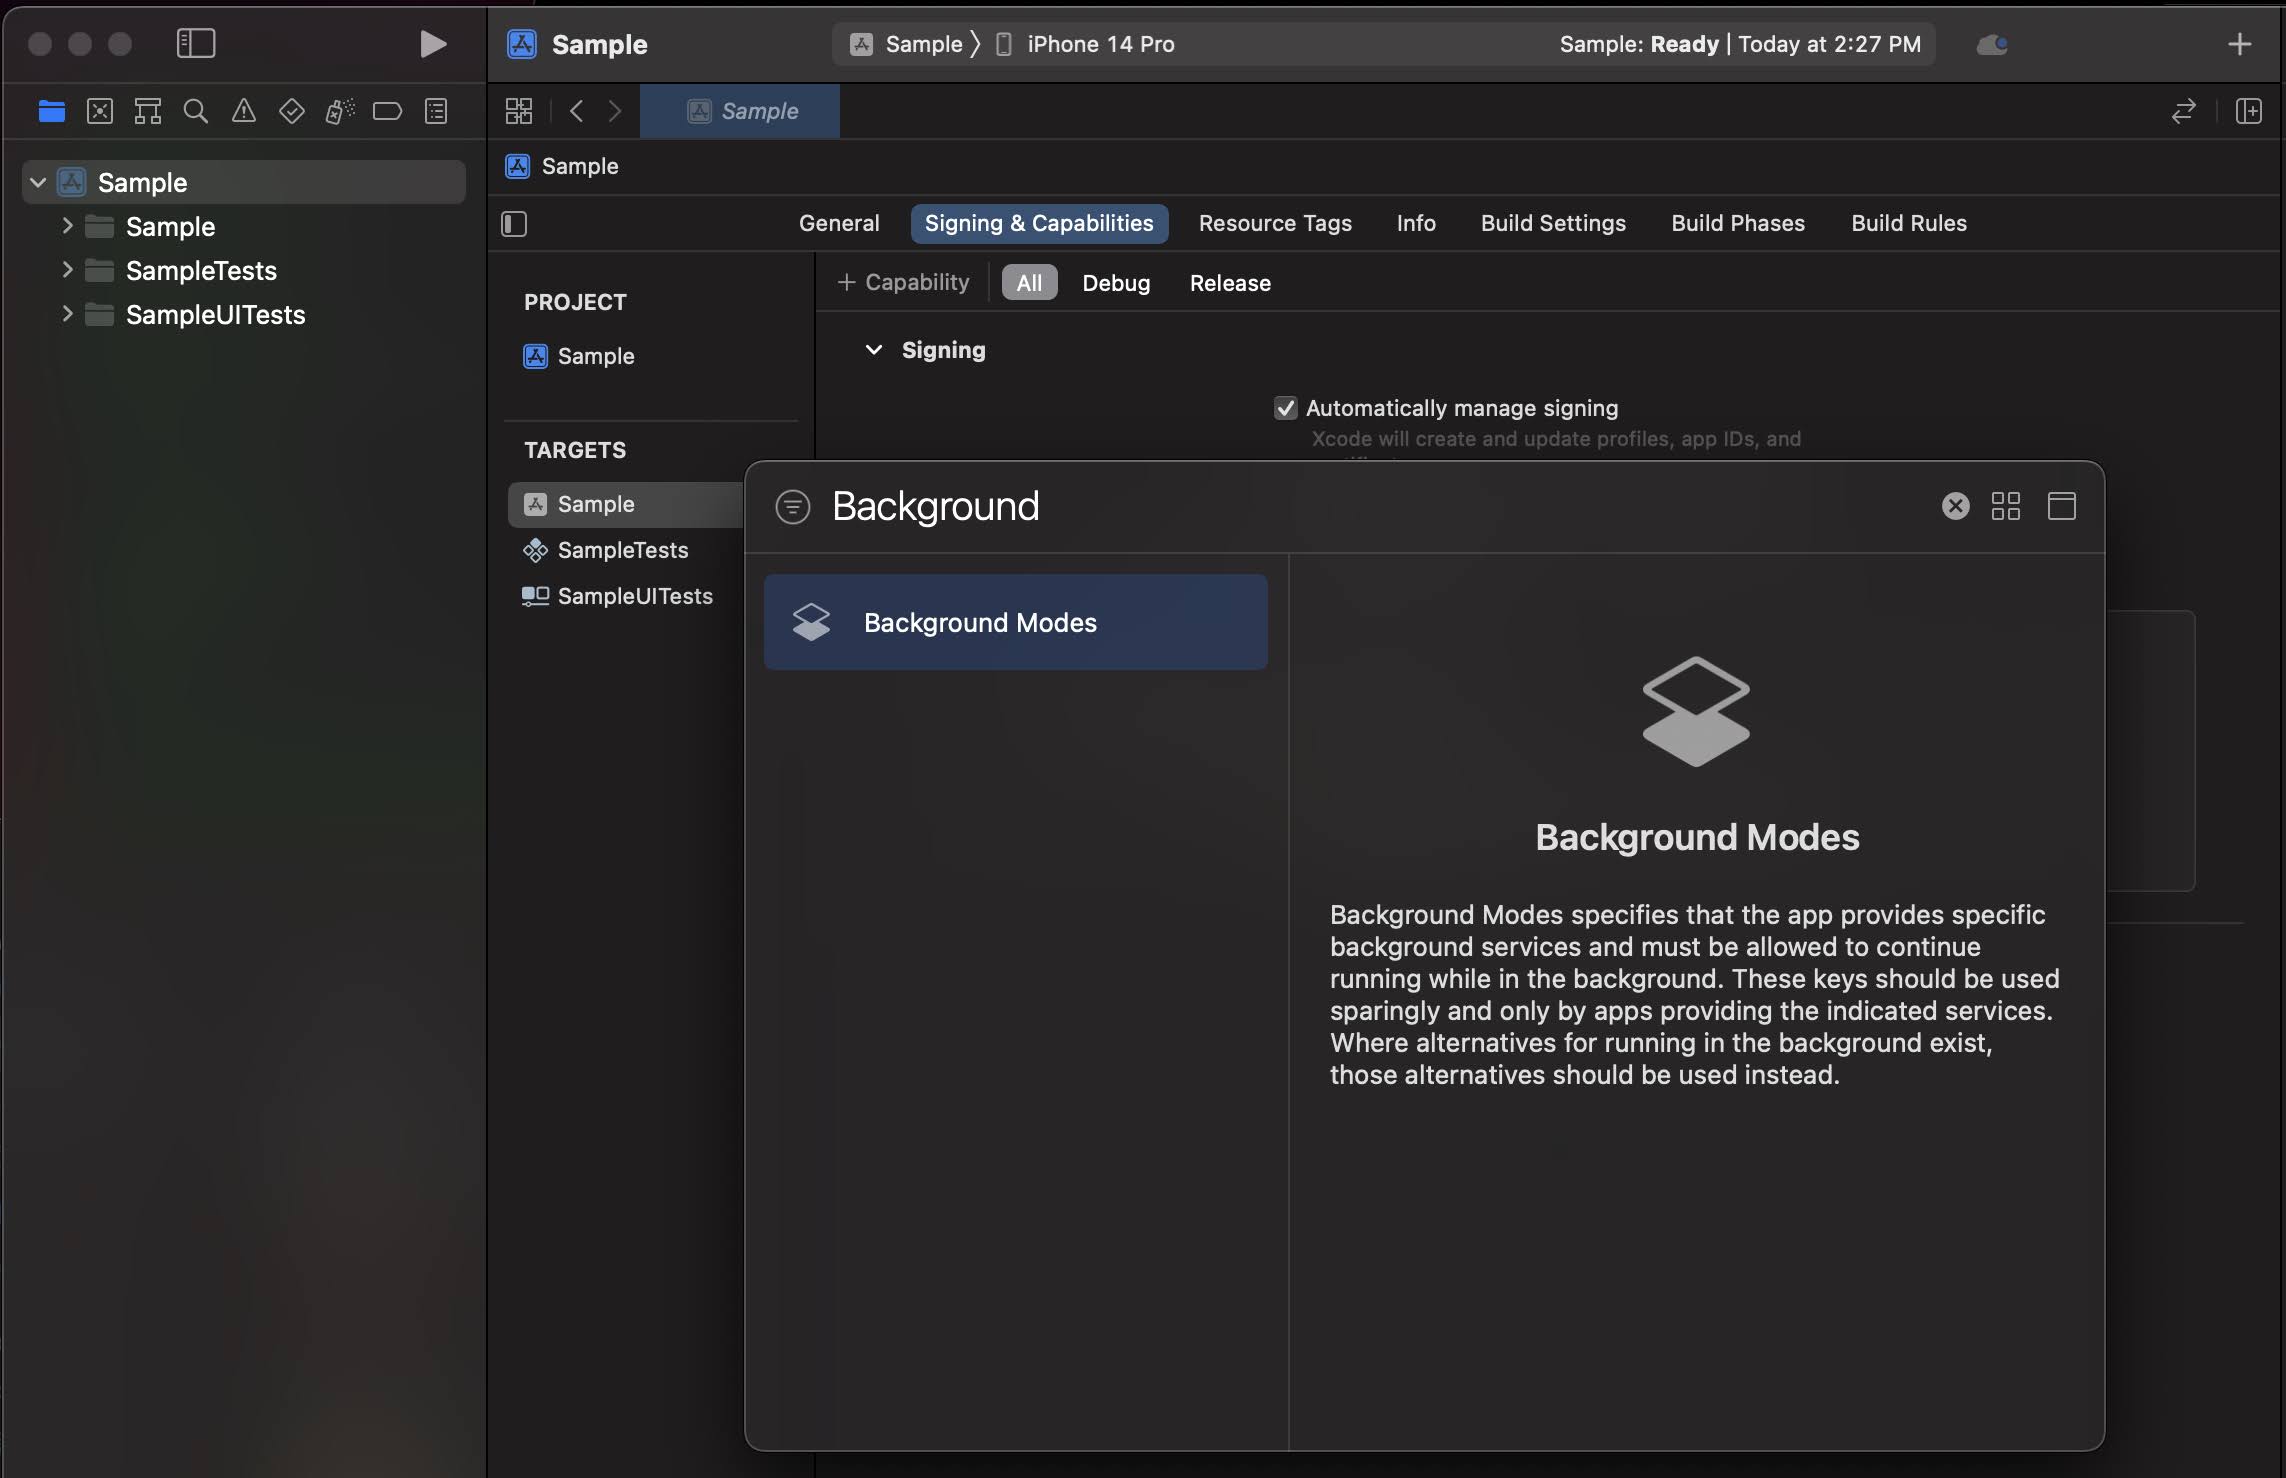
Click + Capability and add Background Modes.

In the Background Modes section, select the Remote notifications checkbox.

Notification Service Extension
To take advantage of notification attachments, such as images, animated gifs, and video, you will need to create a notification service extension.
Follow the steps in the [iOS Notification Service Extension Guide](https://docs.airship.com/developer/sdk-integration/apple/installation/getting-started/#notification-service-extension).Android
Configure Firebase Cloud Messaging (FCM) to enable push notifications on Android.
FCM Setup
Download the Android Firebase configuration file
google-services.jsonfrom the application’s Firebase console into the root directory atandroid/app/google-services.json.If your react-native application does not have an associated app in the Firebase console, follow the FCM setup instructions to set one up.
google-services.json file through its build process. See the Expo documentation for details on configuring FCM credentials.HMS Setup
Follow Huawei’s documentation to set up the HMS SDK.
Note Airship requires HMS Core Push SDK 6.3.0.304 or newer.
Add
airshipHmsEnabled=trueto the app’s gradle.properties.
Notification Configuration
Configure the notification icon and accent color in your takeOff config:
Airship.takeOff({
    default: {
        appKey: "REPLACE_WITH_YOUR_APP_KEY",
        appSecret: "REPLACE_WITH_YOUR_APP_SECRET"
    },
    site: "us",
    android: {
        notificationConfig: {
            icon: "ic_notification",
            accentColor: "#00ff00"
        }
    }
});
See the React Native Setup guide for complete takeOff configuration options.
Enable User Notifications
The Airship SDK distinguishes between user notifications (visible to users) and silent push notifications (background data delivery). User notifications require explicit permission from the user.
By default, user notifications are disabled. Enable them when you want to show visible notifications to users.
Basic Enablement
The simplest way to enable user notifications is with setUserNotificationsEnabled():
await Airship.push.setUserNotificationsEnabled(true);This will prompt the user for permission if not already granted. However, it does not provide feedback on whether the user accepted or denied the permission.
For apps that target Android 13 (API 33) and above, enabling user notifications will display a runtime permission prompt.
To increase the likelihood that the user will accept, you should avoid prompting the user for permission immediately on app startup, and instead wait for a more appropriate time to prompt for notification permission.
Async Enablement with Fallback
For more control over the permission flow, use enableUserNotifications() which returns the permission result and supports a fallback option:
// Enable with system settings fallback
const granted = await Airship.push.enableUserNotifications({
  fallback: PromptPermissionFallback.SystemSettings
});

if (granted) {
  console.log('Notifications enabled');
} else {
  console.log('Notifications denied');
}
The SystemSettings fallback option will prompt the user to open system settings if permission is denied on iOS or denied silently on Android. This gives users a second chance to enable notifications if they initially declined.
Checking Notification Status
To check if user notifications are currently enabled:
const enabled = await Airship.push.isUserNotificationsEnabled();For more detailed status information, use getNotificationStatus():
const status = await Airship.push.getNotificationStatus();
console.log('Are notifications allowed:', status.areNotificationsAllowed);
console.log('Is opted in:', status.isOptedIn);
To monitor notification status changes in real-time:
Airship.addListener(EventType.PushNotificationStatusChangedStatus, (event) => {
  console.log('Notification status changed:', event.status);
  console.log('Is opted in:', event.status.isOptedIn);
});
Getting the Registration Token
To get the platform-specific push token (APNs token on iOS, FCM token on Android):
const token = await Airship.push.getRegistrationToken();For more advanced event handling and token updates, see Handling Notification Events.